
Diy Table Top
📖 Table of Contents
- Choosing the Right Material for Your Table Top
- Measuring and Cutting with Precision
- Adding a Smooth and Durable Finish
- Assembling the Table Top with Legs and Supports
- Adding a Unique Design Element
- Maintaining Your DIY Table Top Over Time
- Troubleshooting Common Issues
- Make It Your Way
- Frequently Asked Questions
I remember the first time I built a DIY table top — it was a late afternoon in my tiny garage, the scent of sawdust and varnish clinging to the air. I was nervous, but the idea of creating something that would last for years, something that would become part of my home, was worth the effort. The DIY table top is one of those projects that feels like magic when you finally see it all come together.
There's a certain satisfaction in knowing that the surface you're sitting on — the one you eat at, work on, gather around — was made by your own hands. A DIY table top isn't just a flat piece of wood; it's a canvas for your creativity, a statement of your personality, and a testament to your patience and craftsmanship. The process is as rewarding as the result, and it's something you can revisit again and again.
I’ve built more than a dozen DIY table tops over the years, and each time, the experience has been different. Some were made in a single weekend, others took weeks. Some were simple, others were complex. But one thing has remained constant: the thrill of seeing a blank slab of wood become a functional, beautiful piece of furniture that fits perfectly into my life and home.
Why You'll Love This DIY Table Top
- It’s a customizable project that matches your personal style and space.
- You can choose materials, finishes, and dimensions to suit your needs.
- It’s a cost-effective alternative to buying pre-made furniture.
- It’s a rewarding hands-on experience that builds confidence and skills.
Choosing the Right Material for Your Table Top
As of August 2026, not all wood is created equal, and your choice of material will determine the look, feel, and longevity of your table top. I've used pine, oak, and MDF — each with its own advantages. Pine is affordable and easy to work with, but it's not as sturdy as oak. MDF is smooth and paint-friendly, but it's heavier and less forgiving of mistakes.[1]
I recommend starting with a solid wood like oak or maple for a mid-range project. These woods are durable, take stain well, and have a natural grain that adds character. If you're on a tight budget, MDF is a great alternative — just be sure to reinforce it with a layer of wood veneer or use a strong adhesive to attach it to the frame.[2]
Whatever material you choose, always test a small piece before committing to the whole project. This will help you see how it reacts to cutting, sanding, and finishing, and it will save you time and money in the long run.
Always buy a slightly larger piece of wood than you need so you have room for error. If you're using a material like MDF, don't forget to seal it before attaching it to the frame or it may warp over time.
Measuring and Cutting with Precision
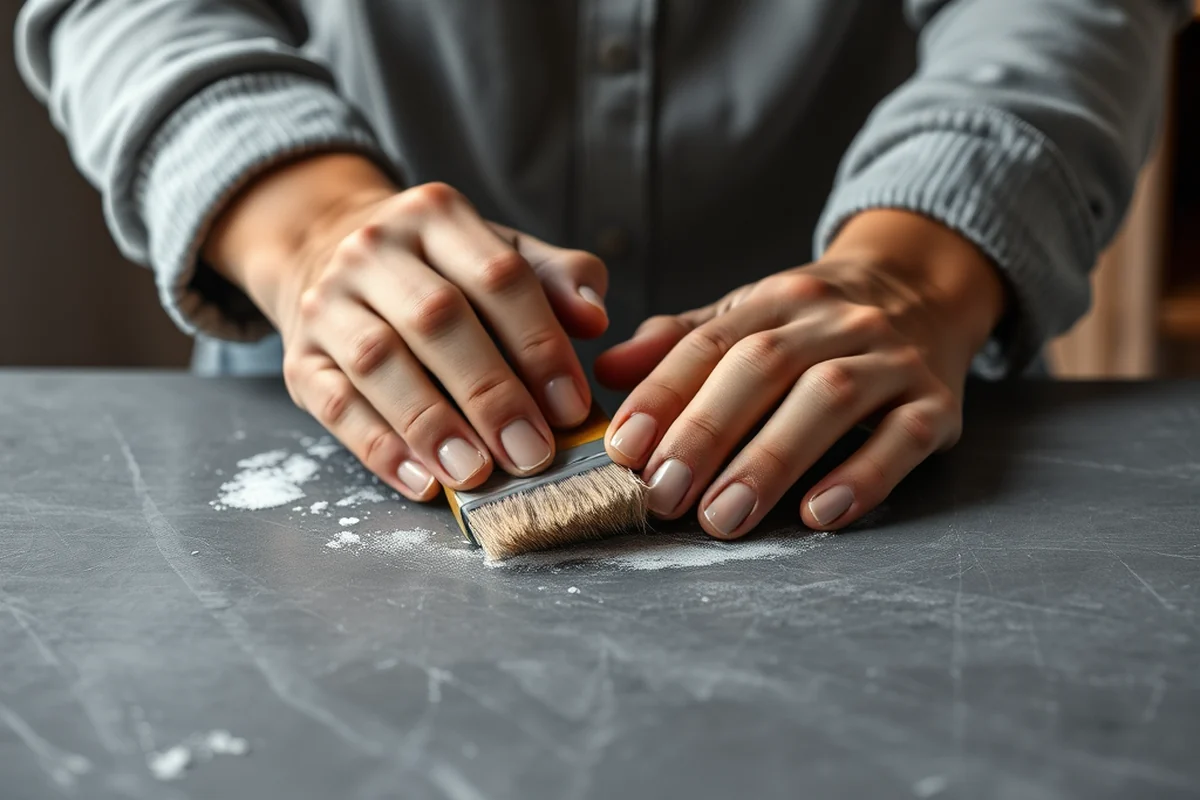
Before you even touch a saw, take precise measurements. I’ve learned the hard way that a 1/4-inch difference in length can throw off the whole project. Use a tape measure and a pencil to mark the wood, and double-check your measurements before making any cuts.
When cutting, always use a straight edge or a guide to ensure clean, straight lines. I prefer using a circular saw for larger cuts and a jigsaw for smaller, more intricate shapes. If you're not confident in your cutting skills, don’t skip the step of clamping the wood down securely — it makes all the difference.
After cutting, take the time to sand each edge. I always use a hand sander with a 60-grit sandpaper to smooth out any rough edges or splinters. This step is especially important if you're using a material like pine, which can have sharp, uneven edges after cutting.[3]
Measure twice, cut once — and then measure again.
Related: Diy costume materials
Related: Diy recycled materials costume
Related: Diy Furniture South Africa
Related: Diy recyclable materials costume
Related: Diy Refinishing Furniture For Beginners
Related: What Is The Element Table
Adding a Smooth and Durable Finish
Finishing your table top is one of the most important steps in the entire project. I've used wood stain, lacquer, and oil-based finishes, and each has its own benefits. Wood stain adds color and enhances the natural grain of the wood, while lacquer provides a hard, protective shell. Oil-based finishes, like Danish oil or tung oil, are great for bringing out the wood's texture but require more maintenance over time.
I always start with a light sanding before applying any finish. This helps the finish adhere better and creates a smoother surface. I recommend using a fine-grit sandpaper, like 120 or 220, and wiping the wood down with a damp cloth afterward to remove any dust.[4]
If you're using a stain or lacquer, be sure to follow the instructions on the can. Apply thin, even coats and allow each coat to dry completely before applying the next one. I usually apply two to three coats of stain and two coats of lacquer for the best results.
Always test your finish on a small section of wood first. This will help you see how it looks and feels, and it will give you a chance to make adjustments before you cover the entire table top.
“I remember the first time I built a DIY table top — it was a late afternoon in my tiny garage, the scent of sawdust…”— DIY Furniture with Metal Components editors
Assembling the Table Top with Legs and Supports

Attaching the legs is a crucial part of the project, and it's where your table top will get its structure. I've used both pre-made legs and custom-cut legs, and both can work well depending on the look you're going for. Pre-made legs are easier to attach and come in a variety of styles, while custom-cut legs allow for more customization.
If you're using pre-made legs, I recommend attaching them with wood screws and wood glue for extra strength. Be sure to use a drill and a bit that's slightly smaller than the screw to prevent the wood from splitting. If you're using custom-cut legs, you'll need to attach them to the table top using brackets or supports for added stability.[5]
After attaching the legs, take the time to check the table for stability. I've found that even the smallest wobble can be a problem, so it's worth the extra time to ensure everything is secure and even.
Adding a Unique Design Element
Now that your table top is assembled, it's time to add some unique design elements that make it yours. I've tried everything from inlays to decorative edging, and each one adds a special touch. Inlays can be made from different types of wood or even metal, and they create a beautiful contrast with the main wood of the table top.
If you're not comfortable with inlays, you can still add some flair with decorative edging. I've used wood trim around the edges of my table tops, and it gives them a finished look that I love. Just be sure to choose a trim that complements the color and grain of the wood.
Another great way to personalize your table top is with hardware. I've used different types of handles, knobs, and brackets to add a unique touch. These small details can make a big difference in the overall look and feel of your table.
Maintaining Your DIY Table Top Over Time
Once your table top is complete, it's important to take care of it so it lasts for years. I've learned through experience that even the most durable finishes can fade over time, especially if the table is exposed to direct sunlight or moisture. To keep your table top looking its best, I recommend cleaning it regularly with a soft cloth and a mild wood cleaner.
If you're using a finish like lacquer, be sure to avoid using harsh chemicals or abrasive cleaners — they can strip the finish and damage the wood. Instead, use a damp cloth and a few drops of mild soap to clean the surface. Always wipe the table dry afterward to prevent water spots.
I also recommend reapplying the finish every few years to keep it looking new. This is especially important if you're using a finish like oil, which can wear off over time. Reapplying the finish is a quick process and can be done with just a few simple steps.
A little care goes a long way in preserving your work.
Troubleshooting Common Issues
No project is perfect, and the DIY table top is no exception. I've run into a few common issues over the years, and knowing how to fix them has saved me a lot of time and money. One of the most common problems is warping — especially with materials like MDF or pine. To prevent this, I always make sure the wood is cut and sealed properly before attaching it to the frame.
Another issue that can come up is uneven legs. If your table is wobbly, it can be frustrating and even dangerous. I've found that using a level and making sure each leg is attached evenly can help prevent this. If you already have a wobbly table, you can use a small piece of wood or rubber to fill the gap and stabilize it.
Lastly, I've had trouble with the finish not adhering properly to the wood. This usually happens when the wood isn't sanded properly or if there's too much dust on the surface. To fix this, I always make sure the wood is clean and dry before applying the finish, and I use a fine-grit sandpaper to smooth out any imperfections.
💰 Budget Build
Use MDF or salvaged wood to keep costs low — great for first-time builders or small spaces.
⏰ Weekend Version
Stick to simple cuts and finishes so you can complete your DIY table top in a single day.
✨ Upgraded Finish
Invest in a high-quality wood stain or lacquer to elevate the look and durability of your table top.
🛋️ Small-Space Adaptation
Create a smaller, more compact table top that fits perfectly into your home office or living room.
🏠 Rental-Safe Option
Use a non-permanent finish that can be removed or painted over when you move out.
| The mistake | Why it happens | The fix |
|---|---|---|
| Not measuring the table top before cutting | This can lead to misaligned edges or a table that doesn't fit with the legs or supports. | Always measure twice and cut once. Use a tape measure and a pencil to mark the wood clearly before making any cuts. |
| Applying too much finish at once | This can cause the finish to sag or create an uneven surface, which can be difficult to fix later. | Apply thin, even coats of finish and allow each coat to dry completely before applying the next one. |
| Skipping the sanding step | This can leave rough edges, splinters, or an uneven surface that will make the table uncomfortable to use. | Always sand your table top after cutting and before applying any finish. Use a fine-grit sandpaper and wipe the wood clean afterward. |
| Using the wrong type of wood for the project | Some woods are too soft or too brittle for a table top, which can lead to cracks or warping over time. | Choose a wood that's suitable for your intended use and budget. Oak and maple are durable and long-lasting, while MDF is a great option for a more affordable build. |
Diy Table Top
Common Questions
Can I use a different type of wood if I can't find oak or maple?
How long does it take to finish a DIY table top?
What tools do I need for this project?
Do I need any special skills for this project?
Cite this guide
DIY Furniture with Metal Components (2026). Diy Table Top. https://weldworknow.com/diy-table-top/
Feel free to cite or share this guide.
References
- Tables - Accessibility at Penn State (accessibility.psu.edu)
- Sample Tables - Web - Cal Poly (afd.calpoly.edu)
- CRAN: Package data.table - R Project (archive.linux.duke.edu)
- Pembroke Table | The Art Institute of Chicago (artic.edu)
- Databases, Tables & Calculators by Subject - U.S. Bureau of Labor ... (bls.gov)