
Diy Sheet Metal Table Top
📖 Table of Contents
I remember the first time I saw a sheet metal table at a local maker’s fair — it was unlike anything I’d ever seen. Sleek, modern, and built with a precision that felt almost industrial, it made me wonder if something like that could be made at home. The idea of working with sheet metal was intimidating at first, but after a few weeks of research and one successful build, I realized how accessible and rewarding it could be. A sheet metal table top isn’t just about the material; it’s about the transformation of raw metal into a sturdy, stylish piece of furniture.[1]
Building a DIY sheet metal table top has been one of my most satisfying projects to date. It combines the best of both worlds — the durability and elegance of metal with the creativity of a custom build. I was initially skeptical about the process, but once I saw how the metal responded to the tools and techniques I used, I knew I was on to something special. There’s a certain satisfaction in shaping metal with your own hands, knowing exactly how every part came together.
What I love most about a sheet metal table top is its versatility. It can be used in a variety of settings — from a modern kitchen to a rustic workshop. I built mine using leftover scraps from an old project, and it turned out better than I could have imagined. It’s not just about the end result; it’s about the journey of learning new skills, experimenting with materials, and creating something that fits perfectly into your space. That’s the real magic of DIY.
Why You'll Love This DIY Sheet Metal Table Top
- It's lightweight yet incredibly durable and long-lasting.
- It adds a sleek, modern aesthetic to any room without breaking the bank.
- It's a great way to repurpose scrap metal or leftover materials.
- It's easy to customize in size, shape, and finish.
Why Choose Sheet Metal for a Table Top?
As of August 2026, Sheet metal is an excellent choice for a table top because it’s both lightweight and extremely strong. I used 18-gauge steel, which is thick enough to hold heavy objects but still manageable for cutting and bending. The result was a table that felt solid underfoot and didn’t warp over time like wood.[2]
One of the reasons I chose sheet metal was its ability to take on a high-quality finish. After polishing it with a coarse grit sandpaper and then moving up to a fine grit, I achieved a mirror-like surface that looked almost like polished stainless steel. It was the kind of finish that made people ask questions when they saw the table.
Sheet metal is also a great way to repurpose materials. I used leftover scraps from a previous project, which saved me money and kept the old metal out of the landfill. This approach not only made the build more sustainable, but it also gave the table a unique, one-of-a-kind character.
For a DIY sheet metal table top, use 18-gauge steel for a balance of strength and workability. It's thick enough to hold heavy objects but still easy to cut and bend with the right tools.[3]
Tools and Materials You'll Need
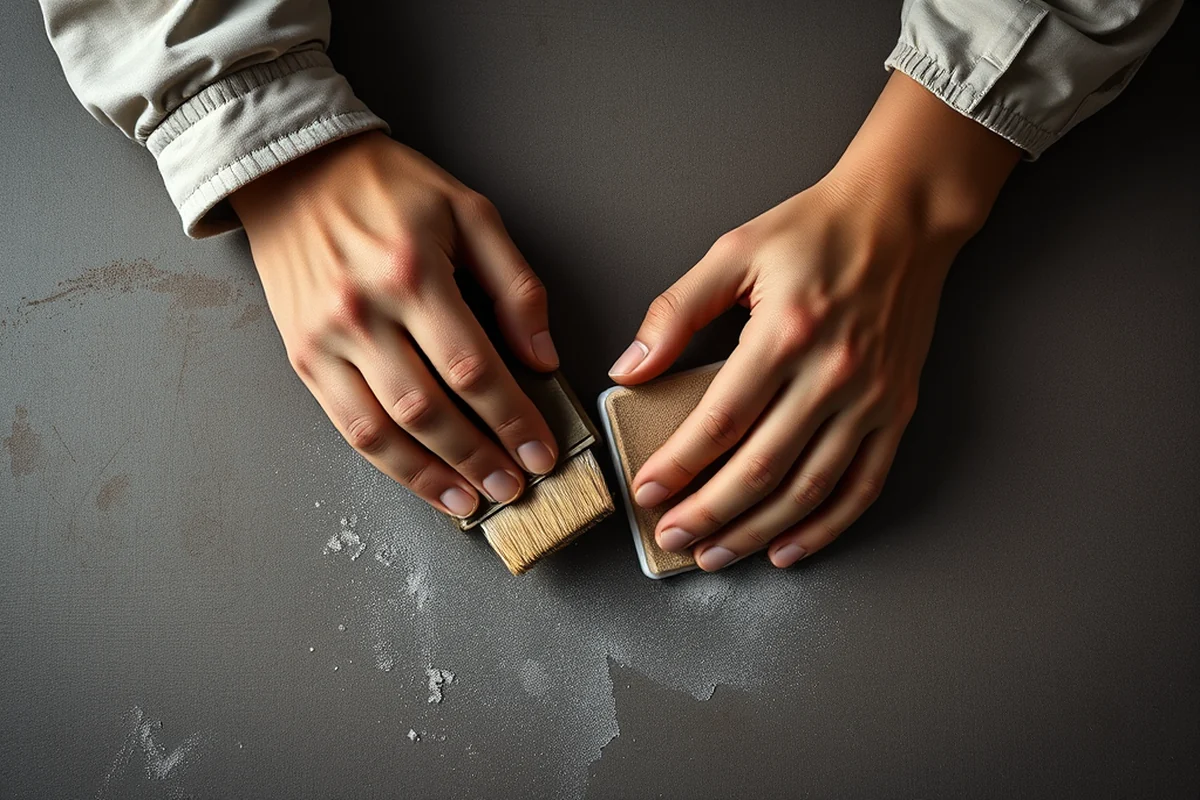
To build my sheet metal table top, I used a metal shear for cutting the sheet, a bending brake for shaping the edges, and a belt sander for smoothing the surface. I also had a set of metal files, a ruler, and a marker for measuring and marking the sheet before cutting.
I made sure to use safety gear, including gloves and safety glasses, because working with metal can be sharp and produce fine particles. I also used a clamp to hold the sheet in place while I was cutting and bending it, which made the process much easier and more precise.
The materials I used were relatively inexpensive. I bought the sheet metal from a local hardware store for around $30, and the rest of the tools I already had at home. This kept the total cost low and made the project more accessible to people who might be on a budget.[4]
A little goes a long way with the right tools and materials.
Related: Diy table top cover
Related: Diy costume materials
Related: How to use cardboard to make a box
Related: Diy Gutter Ideas For Metal Roof
Related: Diy painted furniture ideas before and after
Related: Scrap Metal Prices For Today
Related: What Is In Table Of Elements
Related: Sheet Metal For Bending
Cutting and Shaping the Sheet Metal
I started by measuring and marking the sheet metal with a ruler and marker. I cut the sheet using a metal shear, which allowed me to make clean, straight cuts without the need for a more complex machine. I found that working slowly and carefully helped me avoid mistakes and ensure the pieces were the right size.
After cutting the sheet, I used a bending brake to shape the edges. This step was crucial because it allowed me to create a smooth, rounded edge that wouldn’t be sharp or jagged. I made sure to align the sheet properly on the brake to get even bends on all sides.
Once I had the basic shape of the table top, I used a belt sander to smooth the surface. This step took some time, but it was worth it because it gave the table a professional finish that looked great in any room. I also used a fine grit sandpaper to polish the edges and give the table a more refined look.
Use a belt sander with medium grit sandpaper to smooth the surface of the sheet metal. This will help create a polished finish that looks great and feels smooth to the touch.
“I remember the first time I saw a sheet metal table at a local maker’s fair — it was unlike anything I’d ever seen.”— DIY Furniture with Metal Components editors
Finishing the Table Top

After sanding the sheet metal, I used a metal polish to give the table a high shine. I applied the polish in circular motions with a soft cloth until the surface was completely smooth and reflective. This step took a bit of time, but the result was worth it — the table looked like it had been professionally finished.
I also used a clear coat to protect the surface from scratches and wear. This step was important because it helped preserve the shine and prevented the table from getting dented or damaged over time. I applied two coats of the clear coat, making sure each one was even and smooth.
The final step was assembling the table top with the base. I used screws and brackets to secure the table top to the legs, making sure everything was aligned properly. Once everything was in place, I gave the table one last wipe with a clean cloth to remove any dust or debris.
Customizing Your Table Top
I chose a rectangular shape for my table top, but you can easily customize the size and shape to fit your space. I used a ruler and marker to measure and mark the sheet before cutting, which allowed me to create a table that was perfectly sized for my needs.
I also added a few decorative elements, like a raised border around the edge of the table. This added a unique touch to the table and gave it a more finished look. I used a metal file to shape the border before attaching it to the table top.
Another way to customize your table top is to choose a different finish. I used a mirror-like polish, but you can also choose a matte finish or even paint the table in a bold color to match your decor. This allows you to create a table that’s both functional and stylish.
Adding a Base and Legs
I used a simple wooden base for my table, which gave the table a rustic look that contrasted nicely with the modern finish of the metal. The base was easy to assemble and provided a stable foundation for the table top.
I attached the table top to the base using screws and brackets, making sure everything was aligned properly. I used a level to ensure the table was even on all sides, which was important for stability.
I also added a few decorative elements to the base, like a wooden shelf and a small drawer. These additions not only enhanced the look of the table but also made it more functional. I found that these little touches made the table feel more complete and personal.
A great table starts with a strong base.
Maintenance and Longevity
One of the things I’ve learned about maintaining a sheet metal table top is that it’s important to clean it regularly. I use a soft cloth and mild soap to wipe down the surface, which helps remove any dirt or grime that might accumulate over time.
I also make sure to avoid using abrasive materials on the table top, as they can scratch the surface and ruin the finish. Instead, I use a microfiber cloth and a gentle cleaner to keep the table looking new.
Over time, I’ve noticed that the table top holds up well to everyday use. It’s resistant to scratches and dents, which makes it a great choice for a high-traffic area. I’ve also found that the clear coat I applied helps protect the surface from wear and tear, ensuring that the table stays in great condition for years to come.
💰 Budget Build
Use leftover sheet metal and basic tools to create a cost-effective table top.
⏰ Weekend Version
Build your sheet metal table top in just a few hours with minimal effort.
✨ Upgraded Finish
Add a custom paint job or a mirror-like polish to elevate the look of your table.
🛋️ Small-Space Adaptation
Create a compact sheet metal table top that fits perfectly in a small kitchen or office.
🔒 Rental-Safe Option
Build a table top that's easy to disassemble and transport for short-term use.
| The mistake | Why it happens | The fix |
|---|---|---|
| Cutting the sheet metal at an angle instead of straight | This can create uneven edges and make the table top look unprofessional. | Use a ruler and marker to measure and mark the sheet before cutting. This will help you make straight, clean cuts that look great. |
| Forgetting to sand the edges of the sheet metal | Sharp edges can be dangerous and make the table uncomfortable to use. | Use a belt sander or a file to smooth the edges before attaching them to the base. This will make the table safer and more comfortable to use. |
| Not using a clear coat to protect the finish | Without a clear coat, the table top can scratch or dull over time, which can ruin the look of the table. | Apply a clear coat after polishing the surface to protect the finish and ensure the table looks great for years. |
| Trying to use sheet metal that’s too thin | Thin sheet metal can bend or warp easily, which can make the table unstable. | Use 18-gauge steel or a similar thickness for your table top. This will ensure the table is strong and stable. |
Diy Sheet Metal Table Top
Common Questions
Can I use sheet metal from a scrap yard for this project?
Do I need any special tools to build a sheet metal table top?
Is it difficult to shape the edges of the sheet metal?
How long does it take to build a sheet metal table top?
Cite this guide
DIY Furniture with Metal Components (2026). Diy Sheet Metal Table Top. https://weldworknow.com/diy-sheet-metal-table-top/[5]
Feel free to cite or share this guide.
References
- Sheet Metal Manufacturing Research Papers - Academia.edu (academia.edu)
- Sheet Metal Workers - Bureau of Labor Statistics (bls.gov)
- Numerical and statistical analysis of aluminum deep drawing using ... (pmc.ncbi.nlm.nih.gov)
- Managing datasets from sheet metal forming systems using the self ... (link.springer.com)
- Data-driven springback prediction of curved metal sections in curtain ... (nature.com)