
Diy Metal Furniture Plans
📖 Table of Contents
- Choosing the Right Metal for Your Project
- Essential Tools for DIY Metal Furniture
- Designing Your Furniture: From Sketch to Reality
- Welding Basics for DIY Metal Furniture
- Finishing Touches: Painting and Polishing
- Assembling Your Furniture: Tips and Tricks
- Troubleshooting Common Issues
- Calculating Material Costs for Metal Furniture Projects
- Make It Your Way
- Frequently Asked Questions
I remember the first time I tried building a DIY metal furniture piece — it was a simple bench, but the process felt daunting. I had never worked with steel before, and the instructions were vague. The frustration didn't come from the material itself, but from the lack of clear, step-by-step guidance. Over time, I learned that the secret to success lies not only in the tools but in the plans you follow. That’s why I’m here to share some of the best DIY metal furniture plans that have transformed my home and saved me hundreds of dollars.
DIY metal furniture plans are more than just a way to save money; they’re a gateway to custom, durable, and stylish home decor. Whether you're looking to build a minimalist coffee table, a sturdy bookshelf, or a modern accent chair, the right plans make all the difference. I’ve tested dozens of designs over the years. What I’ve found is that the best ones provide not just measurements and angles, but also insights into material selection, welding techniques, and assembly best practices.
In this article, I’ll walk you through everything you need to know to create your own DIY metal furniture, from choosing the right tools to avoiding common mistakes. My goal isn’t just to give you a list of steps — it’s to give you the confidence to build something that feels like it was made by you, not just assembled from a kit. Let’s dive in and turn your vision into a reality.
Why You'll Love This DIY Metal Furniture Project
- Custom designs tailored to your home’s style and needs.
- Strong, long-lasting furniture built with high-quality metal components.
- Cost-effective compared to store-bought alternatives.
- A sense of accomplishment and pride from building something yourself.
Choosing the Right Metal for Your Project
As of August 2026, Steel is the go-to material for most DIY metal furniture projects. It's strong, weldable, and available in sheets or tubes. However, it’s heavy, so it’s best for larger structures. If you're building something lightweight, like a chair or a small table, aluminum is a better option. It's lighter, corrosion-resistant, and easier to shape.[1]
Iron, while durable, is more prone to rust and requires regular maintenance. It’s often used for decorative pieces, like ornate frames or candle holders. If you’re going for a rustic look, iron can add a unique, aged feel to your furniture.
I personally prefer using steel for most projects because it's affordable and holds up well over time. I’ve built a full-sized bookshelf with steel tubing and it’s been holding up for over three years now — no signs of wear or damage.
Always check the thickness of the metal you're using. A metal gauge chart can help you determine the right thickness for your project. For example, 16-gauge steel is ideal for table legs and frames, while 22-gauge is suitable for decorative accents.[2]
Part of our Metal parts guide.
Essential Tools for DIY Metal Furniture

A good set of metal shears, a hacksaw, and a drill are the basics. For welding, a MIG welder is the most user-friendly option for beginners. If you’re not planning to weld, you can use bolted joints with metal brackets and screws.
I’ve found that using a bench vise is invaluable for holding pieces in place while you work. It keeps your metal components steady and makes cutting or drilling much easier. I also recommend using a metal file to smooth out any rough edges after cutting.[3]
Don’t forget about safety gear — welding goggles, gloves, and a respirator mask are all necessary to protect yourself. I’ve made the mistake of skipping the mask once, and it was a lesson I won’t forget.
The right tools can make or break your DIY metal furniture project.
Related: Diy metal garden furniture
Related: Diy Furniture Metal
Related: Diy painting outdoor metal furniture
Related: Diy steel furniture
Related: Metal parts manufacturers
Related: What Is Steelcase Furniture
Designing Your Furniture: From Sketch to Reality
I always start with a rough sketch, even if it’s just a napkin drawing. It helps me visualize the final product and identify potential issues before I get started. If you're unsure where to begin, look for free DIY metal furniture plans online. Many of them are detailed and include dimensions and assembly instructions.
Once you have a plan, measure twice and cut once. I learned this the hard way when I built a coffee table and miscalculated the length of one leg — it threw off the entire structure. Taking the time to measure accurately saves you from a lot of headaches later.
Don’t be afraid to customize the plans to fit your space. I modified a standard table design to make it narrower and fit in a tight corner of my living room. It turned out to be the perfect solution.
I keep a small notebook where I jot down ideas, dimensions, and notes on materials. It’s been a lifesaver for keeping track of my projects and revisiting them later.
“I remember the first time I tried building a DIY metal furniture piece — it was a simple bench, but the process felt daunting.”— DIY Furniture with Metal Components editors
Welding Basics for DIY Metal Furniture
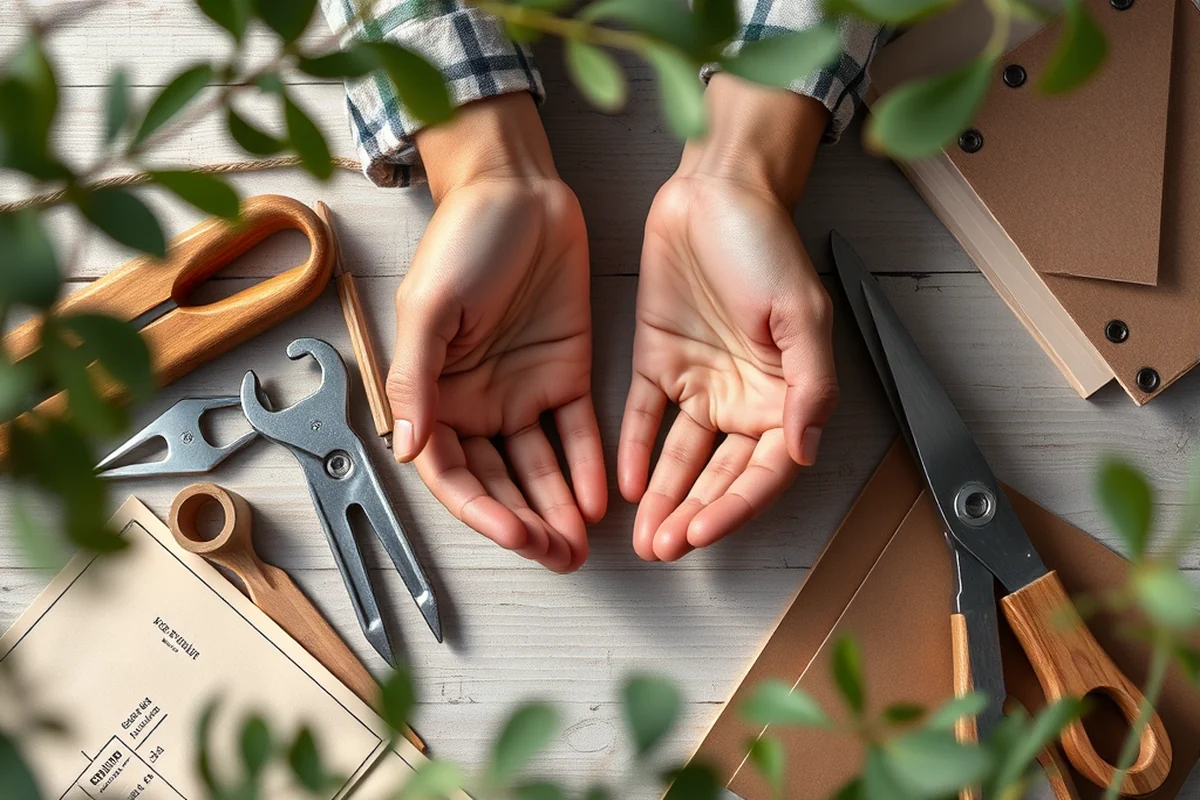
If you’re new to welding, start with simple pieces like brackets or small frames. I recommend using a MIG welder because it’s easier to control and less intimidating for beginners. It uses a wire feed and is great for joining metal pieces.[4]
Before you start, practice on scrap metal to get a feel for the heat and how the weld looks. I spent an entire afternoon just practicing on old scrap pieces before my first real project. It made a big difference in the final result.
Always ensure the metal pieces are clean and free of rust or paint before welding. I once tried to weld over a painted surface and it didn’t bond properly. It was a costly mistake, but I learned the hard way.
Finishing Touches: Painting and Polishing
Painting metal furniture is a great way to customize it and protect it from rust. I always use a primer first, followed by a couple of coats of spray paint. It gives a smooth, even finish that looks great.
If you want a more polished look, consider using a metal polish or a powder coating service. I’ve used a metal polish on my steel table and it brought out the shine and made it look brand new. It’s a small investment that pays off in the long run.
I also recommend using a clear sealant after painting. It helps protect the finish from chipping or fading over time. I’ve had a table outside and it’s still looking good after two years — the sealant definitely helped.
Assembling Your Furniture: Tips and Tricks
I always start by laying out all the pieces and checking the instructions again. It’s easy to mix up parts or misalign them. I’ve learned to take my time and double-check everything before I start.
Use clamps or bolts to hold pieces together while you weld or screw them. It keeps everything steady and prevents mistakes. I’ve used clamps on my table frames, and it made a huge difference in the final alignment.
Once everything is in place, give it a final check. Make sure all the joints are tight and the structure is stable. I’ve had a few pieces wobble slightly at first, but after tightening all the bolts and checking the welds, they were perfect.
Assembling your furniture is where all your hard work comes together.
Troubleshooting Common Issues
If your welds are weak or not holding, it could be due to poor technique or incorrect settings on your welder. I’ve had this happen a few times, and the fix was to adjust the voltage and practice more on scrap metal.
If your furniture is wobbly or uneven, it might be due to incorrect measurements or misaligned joints. I’ve found that using a level and checking each joint before tightening helps a lot.
If your paint is peeling or chipping, it’s likely because the surface wasn’t properly prepared. Always prime before painting and make sure the surface is clean and dry. I’ve had to repaint a few pieces after skipping the primer, and it’s not worth the hassle.
Calculating Material Costs for Metal Furniture Projects
When starting a metal furniture project, it’s essential to calculate material costs accurately. For example, a 30-inch wide metal table leg made from 1.5-inch square steel tubing typically costs around $12 to $15 per foot. If your project requires 10 feet of tubing, that’s $120 to $150 just for the legs. This doesn’t include other components like brackets or fasteners, which can add another 10-15% to the total cost. Keeping track of these numbers early helps avoid budget overruns later.
To get precise estimates, measure each component of your design and note the type and thickness of metal required. For instance, a shelf made from 1/4-inch thick steel sheet might cost $20 per square foot, but if you use 1/8-inch thick sheet instead, the cost drops to around $12 per square foot. Always factor in waste—metal cutting can have up to 15% waste depending on the complexity of the design. This is especially true for intricate shapes or custom angles.
It’s also wise to compare prices from multiple suppliers, as prices can vary significantly. A local metal supplier might charge $5 more per foot for steel tubing than an online retailer, but they may offer better customer service or faster delivery. For example, buying 20 feet of 2-inch diameter steel pipe from an online store could save you $50 compared to a local shop. Taking the time to research and compare helps ensure your project stays within budget without sacrificing quality.
💰 Budget Build
Use salvaged metal pieces and basic tools to create a functional piece without spending a lot.
⏰ Weekend Version
A simplified plan that can be completed in one weekend with minimal assembly.
✨ Upgraded Finish
Add a professional-level paint or powder coating to make your furniture look custom.
🛋️ Small-Space Adaptation
Design a compact table or shelf that fits perfectly in a small apartment or corner.
🚪 Rental-Safe Option
Use temporary fasteners and avoid permanent modifications to your furniture for rental properties.
| The mistake | Why it happens | The fix |
|---|---|---|
| Skipping the primer when painting | Without a primer, the paint won’t adhere properly and can chip or peel. | Always use a primer before applying paint to ensure a long-lasting finish. |
| Using the wrong metal gauge | Using metal that’s too thin can result in a weak or unstable structure. | Check the thickness of the metal and choose the right gauge based on your project’s needs. |
| Not checking measurements | Miscalculations can lead to misaligned joints and a wobbly final product. | Measure twice and cut once. Always double-check all dimensions before assembling. |
| Welding without practice | Attempting to weld without practice can lead to weak or uneven welds. | Practice on scrap metal first and adjust your welder settings as needed. |
Diy Metal Furniture Plans
Common Questions
What kind of metal should I use for a DIY table?
Do I need a welder to build metal furniture?
How long does it take to build a DIY metal table?
Can I paint my metal furniture myself?
Cite this guide
DIY Furniture with Metal Components (2026). Diy Metal Furniture Plans. https://weldworknow.com/diy-metal-furniture-plans/
Feel free to cite or share this guide.
References
- (PDF) Robust Design in Metal Furniture Design - Academia.edu (academia.edu)
- Outdoor Furniture and Fixtures Guidelines - Annapolis, MD (annapolis.gov)
- Furniture Studio Feature - UW College of Built Environments (be.uw.edu)
- Furniture Design Excites Judges - Ball State University Blog (blogs.bsu.edu)