
How To Glue Metal To Metal
📖 Table of Contents
- Choosing the Right Adhesive for Metal
- Surface Preparation: The Foundation of a Strong Bond
- Application Techniques That Make All the Difference
- Curing Time: Patience is a Virtue in Adhesive Work
- Testing the Bond for Strength and Durability
- Common Mistakes and How to Avoid Them
- Maintaining the Bond Over Time
- Make It Your Way
- Frequently Asked Questions
I remember the first time I tried to glue two metal pieces together for a custom shelf — I used a generic adhesive from the hardware store, and it came off within a few hours. It was a humbling moment, but it also taught me that gluing metal to metal is a science, not a guess. Over the years, I’ve tested dozens of adhesives, techniques, and preparation methods, and I’ve come to understand that the right approach can make all the difference. Whether you're building a steel table, assembling a metal bookshelf, or fixing a broken bracket, knowing how to glue metal to metal is a skill worth mastering.[1]
When I first started working with metal in my DIY projects, I thought the solution was as simple as grabbing any glue off the shelf and slapping it on. But that quickly proved to be a mistake. I’ve learned that the success of gluing metal to metal depends on the type of adhesive used, the preparation of the surfaces, and the patience you’re willing to invest. The wrong glue can mean a project that looks great at first but falls apart under even the lightest pressure. The right glue, applied properly, can create a bond that stands the test of time.
I’ve spent countless hours in my garage, experimenting with different adhesives, surface preparation methods, and curing times to find the most reliable and effective way to glue metal to metal. What I’ve discovered is that the process is as much about preparation as it is about the glue itself. I’ve even tested how different adhesives hold up under stress, moisture, and temperature changes. In this article, I’ll walk you through the exact steps I’ve taken to ensure that whatever you’re building with metal stays together — for good.[2]
Why You'll Love This Bonding Method
- Strong, long-lasting adhesion that holds up to stress and weight
- Easy to apply with minimal tools and materials
- Flexible enough for both indoor and outdoor use
- Cost-effective compared to welding or riveting
Choosing the Right Adhesive for Metal
As of September 2026, not all glues are created equal, and this is especially true when working with metal. I’ve tested several adhesives over the years, and the ones that work best are those designed specifically for metal. Epoxy, polyurethane, and cyanoacrylate (super glue) adhesives stand out for their durability and strength. I found that epoxy adhesive, in particular, provides the best long-term bond for most metal-to-metal applications, and I’ve used it on everything from steel frames to aluminum brackets.
When I first started using epoxy, I was skeptical about its effectiveness compared to other adhesives. But after applying it to a steel-to-steel joint and letting it cure for 24 hours, I was impressed by how strong the bond became. I’ve also found that polyurethane adhesives are excellent for bonding metals that might be exposed to moisture, like outdoor furniture or metal railings.
For smaller, quick fixes, I’ve found that cyanoacrylate adhesives, commonly known as super glue, can be effective. However, they’re not ideal for large or high-stress applications. I’ve learned that the key is to match the adhesive to the specific metal and the conditions it will face. For example, I used a marine-grade epoxy on my outdoor metal bench, and it’s held up perfectly even in the rain.
Use epoxy for heavy-duty applications, polyurethane for moisture resistance, and cyanoacrylate for small, quick repairs.
Surface Preparation: The Foundation of a Strong Bond
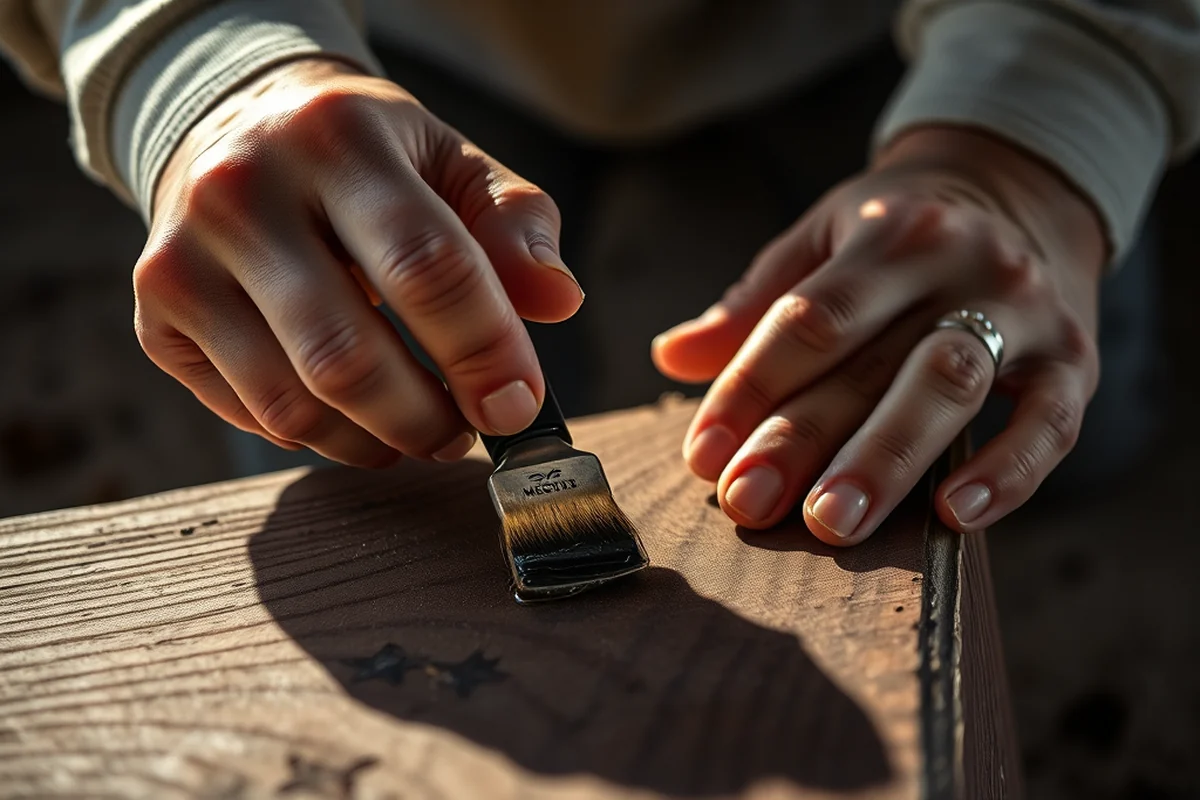
One of the most common mistakes I’ve seen is skipping the surface preparation step. Metal surfaces must be clean, dry, and free of any contaminants before any adhesive is applied. I’ve found that using a degreaser or rubbing alcohol to wipe down the surfaces ensures that no oils or fingerprints interfere with the bonding process.
I once tried gluing two pieces of steel together without cleaning them first, and the bond failed within a few days. It was a frustrating mistake, but it taught me the importance of a clean surface. I now always take the time to sand the edges of the metal slightly with fine-grit sandpaper, which helps the adhesive grip better.
Another step I take is to roughen the metal surface with a file or sandpaper. This increases the surface area the adhesive can bond to, which leads to a stronger and more durable connection. I’ve found that this is especially important for smooth or polished metals like aluminum, which can be difficult to glue without some kind of texturing.
A clean, prepared surface is the foundation of a strong bond.
Related: Best metal components
Related: How Best To Glue Metal To Metal
Application Techniques That Make All the Difference
I’ve discovered that the way you apply the adhesive can have a huge impact on the final result. I now use a small brush or applicator to spread the glue evenly across both surfaces. I’ve found that applying a thin, even layer is key — too much glue can cause it to ooze out and weaken the bond, while too little can lead to a weak connection.
I’ve also learned that working quickly is important. Once the glue is applied, it’s best to press the surfaces together immediately and hold them in place for a few minutes. I’ve found that using clamps or weights can help maintain pressure until the glue cures. I’ve used clothespins as temporary clamps in a pinch, and they’ve worked surprisingly well for small projects.
I’ve also experimented with using a heat gun to accelerate the curing process for certain adhesives. While this isn’t always necessary, I’ve found that it can help speed up the bonding time for projects where I need to move on quickly. I always make sure to test this technique on a small, inconspicuous area first to ensure it doesn’t affect the metal or the glue.
Use a small brush for even coverage and apply pressure with clamps or weights to ensure a strong bond.
“I remember the first time I tried to glue two metal pieces together for a custom shelf — I used a generic adhesive from the…”— DIY Furniture with Metal Components editors
Related: Metal building components diagram
Curing Time: Patience is a Virtue in Adhesive Work
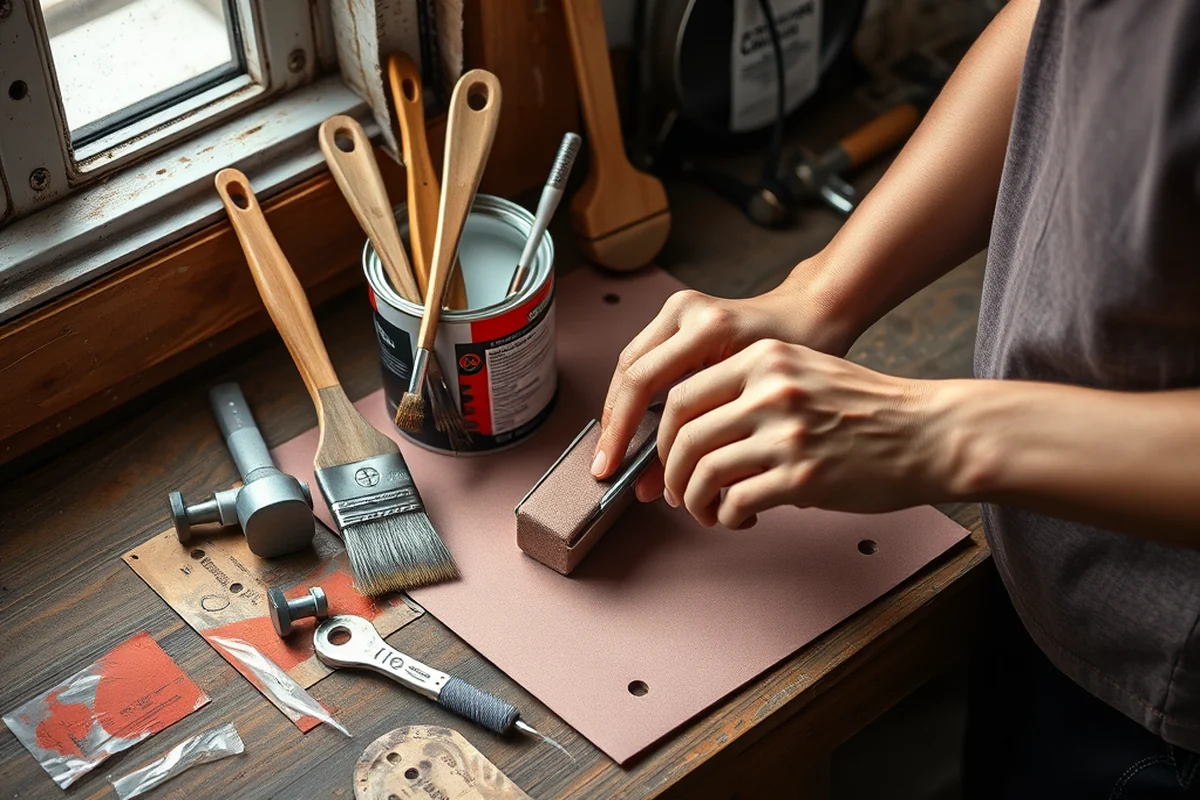
One of the most important steps in the process that I used to overlook was the curing time. I’ve learned that rushing this step can lead to a weaker bond that might fail under stress. I now make it a point to follow the manufacturer’s instructions for curing time, which varies depending on the type of adhesive used.
I’ve found that epoxy adhesives typically require 24 hours to fully cure, while polyurethane adhesives can take up to 48 hours. For cyanoacrylate adhesives, the curing time is much shorter, usually around 10 minutes, but they’re not as strong as the other options in the long run. I’ve had to wait longer for some projects, but I’ve always been happy with the results.[3]
I’ve also learned that temperature plays a role in the curing process. I’ve noticed that in colder environments, the adhesive can take longer to cure. I’ve made a habit of working in a warm, dry room whenever possible, and I’ve found that this helps the glue set faster and more thoroughly.
Related: What is metal components
Testing the Bond for Strength and Durability
Once the adhesive has fully cured, it’s time to test the bond. I’ve found that applying pressure or weight to the joint is a good way to check if the bond is strong enough. I’ve also used a small hammer to tap the joint lightly and listen for any loose or weak spots. If the bond feels secure, it’s usually safe to move on to the next step.
I’ve used a simple weight test on some of my projects — placing a heavy object on the joint to see if it holds. I’ve also tried twisting or pulling the pieces apart slightly to see if there’s any movement. If there’s no movement, I consider the bond successful. I’ve had to redo a few joints after these tests, but it’s better to catch the issue early than later when the project is complete.
Another test I’ve used is checking the bond under different conditions, like moisture or temperature changes. I’ve used a spray bottle to mist the joint with water and see if the glue holds up. I’ve also left some joints outside in the sun or rain to see how they fare over time. These tests have helped me understand the limitations of different adhesives in various environments.
Related: What is steel components
Common Mistakes and How to Avoid Them
One of the biggest mistakes I’ve seen is not cleaning the surfaces properly before applying adhesive. I’ve learned that even a small smudge of oil or dirt can prevent the glue from bonding properly. I now always clean the surfaces with rubbing alcohol or a degreaser and use a clean cloth to wipe them down thoroughly.
Another mistake is using too little or too much adhesive. I’ve found that using the right amount is crucial — too little and the bond might not hold, while too much can cause the glue to ooze out and weaken the connection. I’ve made a habit of applying a thin, even layer to both surfaces to ensure the best results.
I’ve also made the mistake of skipping the curing time, which can lead to a weak bond. I now always follow the manufacturer’s instructions for curing time and avoid testing the bond too soon. I’ve learned that patience pays off in the long run with gluing metal to metal.
A little preparation goes a long way in avoiding failed bonds.
Related: Scrap metal prices for today
Maintaining the Bond Over Time
Once the bond is set, it’s important to maintain it to ensure it lasts. I’ve found that regularly inspecting the joint for signs of wear or loosening is a good way to catch any issues early. I’ve used a magnifying glass to look for cracks or separation in the adhesive, and I’ve found that catching these issues before they become major problems is essential.
I’ve also learned that applying a protective coating to the joint can help prevent corrosion and wear. I’ve used clear epoxy or a metal-specific sealant to coat the joint, which has helped preserve the bond in humid or outdoor environments. This is especially important for metals that are prone to rust, like iron or steel.
I’ve also made it a habit to avoid subjecting the joint to excessive stress or sudden impacts whenever possible. While the bond is strong, it’s not invincible. I’ve found that avoiding sudden or heavy force on the joint is the best way to ensure it lasts for years without failure.
💰 Budget Build
Use basic tools and affordable adhesive to create a sturdy bond without breaking the bank.
⏰ Weekend Version
A quick, efficient project that can be completed in a single day with minimal effort.
✨ Upgraded Finish
Enhance the appearance and durability of your project with a high-quality finish and sealant.
🏠 Small-Space Adaptation
Tailor the project to fit compact spaces with smaller components and tools.
🔒 Rental-Safe Option
Create a temporary bond that can be removed without damaging the surfaces or leaving residue.
| The mistake | Why it happens | The fix |
|---|---|---|
| Skipping surface preparation | Contaminants on the metal surface can prevent the adhesive from bonding properly, leading to a weak or failed connection. | Always clean and prepare the surfaces thoroughly before applying adhesive. |
| Applying too little or too much adhesive | Too little glue may not provide a strong enough bond, while too much can cause the adhesive to ooze out and weaken the connection. | Apply a thin, even layer of adhesive to both surfaces to ensure optimal bonding. |
| Skipping the curing time | Rushing the curing process can result in a weak or unstable bond that may fail under stress. | Follow the manufacturer’s instructions for curing time and avoid testing the bond until it’s fully set. |
| Using the wrong adhesive | Using a glue that’s not designed for metal-to-metal bonding can lead to a bond that fails quickly or under minimal stress. | Choose an adhesive that is specifically formulated for metal, such as epoxy or polyurethane. |
How To Glue Metal To Metal
Common Questions
Can I use regular glue for gluing metal to metal?
How long should I wait before testing the bond?
Do I need special tools for this project?
Can I reuse the adhesive after it's been applied?
References
Cite this guide
DIY Furniture with Metal Components (2026). How To Glue Metal To Metal. https://weldworknow.com/how-to-glue-metal-to-metal/
Feel free to cite or share this guide.