
How To Make Metal Furniture Look New
📖 Table of Contents
I still remember the first time I brought home that rusted metal chair from a flea market — it looked like it had been abandoned in a storm. But after a few hours of scrubbing and a few coats of paint, it transformed into something I actually wanted to sit on. If you're wondering how to make metal furniture look new, you're in the right place. This isn't just about aesthetics; it's about giving old pieces a second life and making them feel like they belong in your home.
Metal furniture has a way of enduring, but over time, it can accumulate grime, rust, and the weight of years. I've spent countless weekends salvaging and renovating everything from wrought iron tables to steel shelving units. I've learned that the key to making metal furniture look new lies in the right techniques and tools. Whether your piece is chipped, faded, or just worn down, there's a way to bring it back to life without breaking the bank or your patience.
What I love most about this process is how it turns what might seem like a lost cause into something that feels entirely new. You don't need a degree in interior design or a six-figure budget — just a few basic supplies, a little elbow grease, and the right mindset. If you're asking how to make metal furniture look new, I'm here to walk you through each step with the kind of detail and personal experience that makes a DIY project feel less like a gamble and more like a guarantee.
Why You'll Love This Restoration Method
- It's affordable — most materials cost less than $50.
- You don't need professional tools or experience.
- It adds value and charm to your home.
- It's sustainable — you're reusing instead of replacing.
Start with a Thorough Clean
As of August 2026, I've learned the hard way that rushing this step can lead to a patchy finish or paint that peels within weeks. Begin by removing all loose dirt and debris using a stiff brush or a high-pressure hose. For stubborn grime, a mixture of trisodium phosphate (TSP) and water can work wonders. I like to use a stiff nylon brush and a plastic scraper to get into crevices and corners.[1]
Once the surface is clean, it's time to degrease. I've found that using a degreaser specifically formulated for metal — like Simple Green or a citrus-based cleaner — is the best way to eliminate oils, grease. Old wax that might be on the surface. Wipe it down with a microfiber cloth and rinse with clean water.
After cleaning and degreasing, I always take the time to dry the surface thoroughly. Moisture can lead to rust spots even after painting. I use a clean towel and let the piece sit in a dry area for a few hours. If I'm working on an outdoor piece, I might even use a fan or a hairdryer to speed up the drying process.
A plastic scraper is a game-changer for removing old paint or rust. It's gentle on the metal and won't scratch the surface the way a metal scraper might. I keep one in my tool kit for every metal restoration project.
Part of our Metal parts guide.
Scrub Away Rust and Flakes
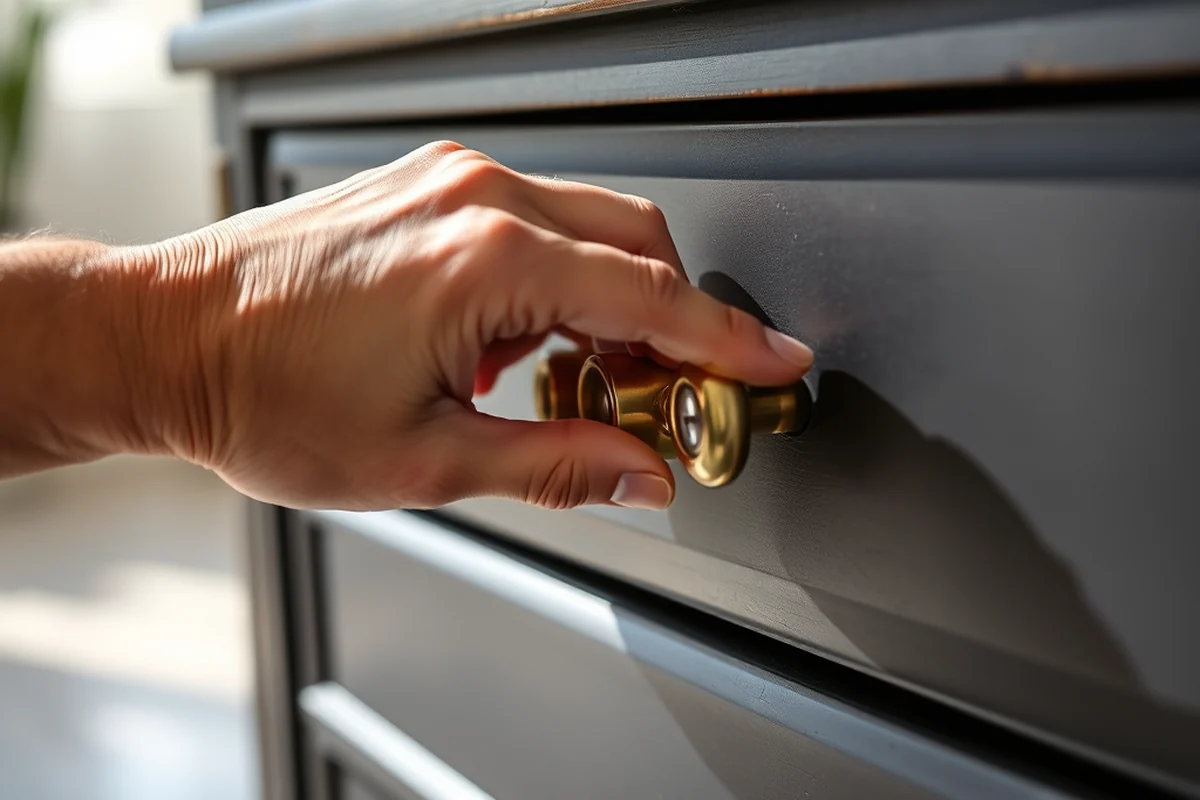
I've spent hours over the years sanding down rust spots, and I can tell you — the key is consistency. I start by using a wire brush or a sanding block to remove as much rust as possible. For smaller pieces, I use a handheld orbital sander with a fine-grit sanding disc. I work in sections, going back and forth until the rust is gone.
After sanding, I always give the surface a quick wipe with a damp cloth to remove any dust or residue. If I'm dealing with stubborn rust spots, I apply a rust converter like Rust-Oleum Stops Rust. This chemical turns rust into a black compound that can be sanded away, preventing further corrosion. I've used it on everything from outdoor gates to old tool cabinets, and it's been a lifesaver.
Once the rust is removed, I give the surface a final wipe with a clean cloth and let it dry. I've found that skipping this step can lead to a patchy paint job, so I always take the time to be thorough.
Rust is the first thing to go — and it's the hardest.
Related: Diy metal furniture ideas
Related: Diy furniture metal
Related: Steel parts manufacturing inc
Related: Metal parts for gunpla
Related: Metal parts hsn code
Apply a Primer for Better Adhesion
I've tried painting over rust without primer, and it never lasts more than a few months. Primer helps block rust from seeping through and also creates a smooth surface for the paint to stick to. I prefer using a metal-specific primer like Rust-Oleum 757, which is designed to adhere to both rusty and clean metal surfaces.[2]
Before applying primer, I always make sure the surface is completely dry and free of dust. I use a brush or a spray can, depending on the size of the piece. I've found that spraying is faster and more even, but brushing is better for small or intricate areas. I always work in a well-ventilated area and wear a mask to avoid inhaling fumes.
Once the primer is applied, I let it dry for at least 24 hours before moving on to the next step. This gives it time to cure and bond with the metal, ensuring that the paint adheres properly.[3]
Primer fumes can be strong, so I always work in a garage or an outdoor space with good airflow. I've found that using a fan or opening windows helps a lot. If you're working indoors, make sure to keep the area clear of flammable materials and avoid using open flames.
“I still remember the first time I brought home that rusted metal chair from a flea market — it looked like it had been abandoned…”— DIY Furniture with Metal Components editors
Choose the Right Paint and Apply It Evenly
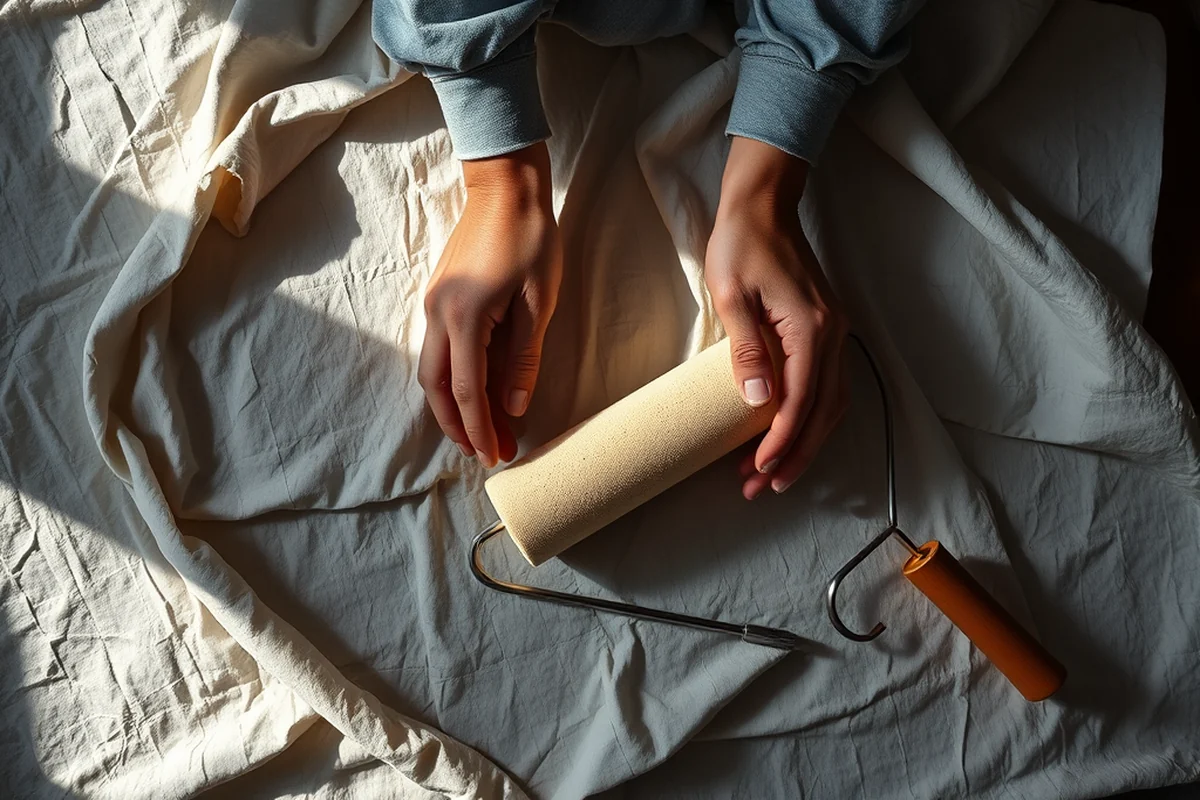
I've tested numerous paint brands over the years, and I've found that using a high-quality enamel paint like Rust-Oleum or Krylon is the best way to go. These paints are formulated for metal surfaces and offer a durable, glossy finish that resists chipping and fading. I've used them on everything from outdoor furniture to indoor shelves, and they always hold up well.
I always apply paint in thin, even coats. Thick coats can lead to drips and uneven coverage. I use a spray can for larger surfaces and a brush for intricate details. I've found that working in sections and keeping the can about 12 inches away from the surface helps achieve the best results.[4]
After each coat, I let the paint dry completely before applying the next. I've found that two to three coats are usually enough for a solid, long-lasting finish. Once I'm done, I let the furniture sit for at least 24 hours before using it to ensure the paint has fully cured.[5]
Add a Protective Clear Coat
I've made the mistake of skipping the clear coat before, and I've learned that it's essential for protecting the paint from UV rays, moisture, and wear. A high-quality clear coat like Rust-Oleum Clear Enamel or Krylon Crystal Clear helps create a barrier that keeps the paint looking fresh and vibrant.
I apply the clear coat in the same way I do the paint — in thin, even layers. I've found that two to three coats are usually enough to provide adequate protection. I always make sure the surface is clean and dry before applying the clear coat, and I let it cure for at least 24 hours before using the furniture.
Once the clear coat is applied, I take a step back and admire the result. The furniture now looks brand new, and I know it's protected for years to come. I've used this method on countless pieces, and I've never had a problem with chipping or fading.
Polish for a Shiny Finish
I've found that a little bit of polish can make a huge difference in the overall look of metal furniture. I like to use a metal polish like Armor All or 3M Polish, which helps remove minor scratches and adds a glossy sheen to the surface.
I apply the polish with a soft cloth and work it into the metal in a circular motion. I've found that this helps even out the surface and brings out the natural luster of the metal. I always make sure to buff the surface thoroughly after applying the polish to ensure a smooth, even finish.
Once the polishing is done, I give the furniture a final wipe with a clean, dry cloth. This removes any excess polish and leaves the surface looking shiny and new. I've found that this step is especially important for pieces that are used frequently or exposed to the elements.
A little polish can make a piece shine like it just came out of the factory.
Maintain Your Furniture for Longevity
I've learned over time that even the best paint job can be undone by neglect. I always make sure to wipe down my furniture regularly with a damp cloth to remove dust and debris. For outdoor furniture, I use a mild soap and water solution to keep it clean and protected.
I've found that applying a fresh coat of polish every few months helps maintain the shine and prevents the paint from dulling. I also avoid using abrasive cleaners or harsh chemicals, which can damage the finish.
If I notice any signs of chipping or fading, I address them immediately. I've found that a quick touch-up with a small brush and a matching paint can keep the furniture looking new without the need for a complete repaint.
💰 Budget Build
Use TSP and a spray can of paint to give your furniture a fresh look for under $30.
⏰ Weekend Version
Complete the entire process — from cleaning to polishing — in one day with the right tools and supplies.
✨ Upgraded Finish
Add a clear coat and metal polish for a showroom-quality shine that lasts for years.
🏠 Small-Space Adaptation
Use lightweight tools and work in sections to restore furniture without taking over your entire home.
🔒 Rental-Safe Option
Use temporary paint and avoid permanent modifications to make your furniture look new without violating rental agreements.
| The mistake | Why it happens | The fix |
|---|---|---|
| Skipping the cleaning and degreasing steps. | This can lead to a patchy or uneven paint job and cause the paint to peel or chip over time. | Always start with a thorough cleaning and degreasing process to ensure the surface is completely clean and ready for paint. |
| Applying paint too thickly. | Thick coats of paint can lead to drips, runs, and an uneven finish. They can also take longer to dry and may not adhere properly to the surface. | Apply paint in thin, even coats and allow each coat to dry completely before applying the next. |
| Not allowing the primer and paint to cure properly. | If you use the furniture too soon after painting, the paint may not have had enough time to cure and could chip or flake easily. | Always allow the primer and paint to cure for at least 24 hours before using the furniture. |
| Using the wrong type of paint or polish. | Using the wrong type of paint or polish can lead to peeling, fading, or damage to the surface of the furniture. | Always use a paint and polish that are specifically formulated for metal surfaces to ensure the best results. |
How To Make Metal Furniture Look New
Common Questions
Can I paint over rust without primer?
How long does it take to restore metal furniture?
What kind of paint should I use on metal furniture?
Can I use a regular brush instead of a spray can?
Cite this guide
DIY Furniture with Metal Components (2026). How To Make Metal Furniture Look New. https://weldworknow.com/how-to-make-metal-furniture-look-new/
Feel free to cite or share this guide.
References
- Our Blog | Architect of the Capitol (aoc.gov)
- Recycling, Trash, Composting | Town of Arlington - ArlingtonMA.gov (arlingtonma.gov)
- Furniture Studio Feature - UW College of Built Environments (be.uw.edu)
- Kovový nábytek = Metal Furniture - Unbound (blog.library.si.edu)
- All You Ever Wanted to Know About Classifying Furniture (cbp.gov)