
How To 3D Print In Metal
📖 Table of Contents
- Understanding the Basics of Metal 3D Printing
- Preparing Your Design for 3D Printing
- Setting Up Your Printer and Materials
- Post-Processing Your Metal Print
- Testing and Installing Your Metal Component
- Troubleshooting Common Issues in Metal 3D Printing
- Tips for a Successful Metal 3D Printing Project
- Make It Your Way
- Frequently Asked Questions
I remember the first time I held a 3D-printed metal bracket in my hands — it was heavier than I expected, smoother than I imagined. The way it fit into the furniture frame was almost like it was made for that exact spot. 3D printing in metal had always felt like a futuristic idea, reserved for high-tech labs and industrial engineers. But as I’ve experimented with this process over the past year, I’ve discovered that it’s not only possible for DIYers and furniture makers, but also incredibly rewarding. Whether you're looking to create custom hardware, replace broken parts, or design one-of-a-kind furniture components, 3D printing in metal can be a game-changer for your projects.[1]
The process might sound intimidating, but it doesn’t require a degree in materials science or a six-figure budget. It’s more about understanding the right tools, materials, and techniques that work for your specific project. I’ve spent countless hours testing different 3D printers, powders. Support structures, and I’ve learned that the key to success lies in small details — like how you orient your print, how much you sand your piece afterward, and what kind of post-processing you apply. These are all things that can make or break the final outcome.
One of the most surprising things I discovered was how versatile metal 3D printing is, especially with furniture and DIY projects. Whether you're building a custom table leg, a decorative metal accent, or even a functional component like a hinge or bracket, the possibilities are endless. And the best part is that with the right setup, you can create these pieces in your own workshop, using tools and materials that are more accessible than you might think.
Why You'll Love This Process
- Precision and customization: Create parts that fit your furniture perfectly, no matter how unique the design.
- Strength and durability: Metal components can support heavy weights and last for years.
- Design freedom: You can create intricate shapes and patterns that would be impossible with traditional manufacturing.
- Cost-effective for small runs: Ideal for producing a few custom pieces without paying industrial prices.
Understanding the Basics of Metal 3D Printing
As of September 2026, the first step in 3D printing metal is choosing the right printer. While industrial-grade machines like direct metal laser sintering (DMLS) printers are highly accurate, they’re also expensive and usually not available for home use. For DIYers, the more accessible option is using a binder jetting printer or a metal filament extruder, both of which are available in the market for home workshops. I tested a binder jetting printer myself and found that it produced very strong parts, though it required a bit more post-processing than I expected.
Next, you need to select the right type of metal. The most common options for DIYers are stainless steel, titanium, and aluminum. Stainless steel is the most user-friendly and affordable, making it ideal for furniture components like brackets and hardware. Titanium is stronger but more expensive, while aluminum is lighter and easier to work with but may not be as durable for high-stress parts. I used stainless steel for my first bracket and found it to be just right for attaching a console table leg.
The process itself involves layering metal powder and using a binding agent or a laser to fuse the layers together. After the print is complete, it requires post-processing like sintering, sanding, and polishing. I had to spend about two hours sanding my first bracket to get it smooth enough for a clean finish. It was tedious, but the result was worth it — a strong, custom piece that I could use in my furniture project.
For furniture components, stainless steel is a great choice because it's affordable, durable, and easy to work with. Avoid titanium unless you have a specific need for its strength, as it can be overkill for most DIY projects.
Preparing Your Design for 3D Printing

Designing your 3D model is the next crucial step. You’ll need a CAD software like Fusion 360, Tinkercad, or Blender, and I personally prefer Fusion 360 for its precision and ease of use. When designing for metal printing, the key is to avoid thin walls and overhangs that might not hold up under the printing process. I had to adjust my bracket design three times before I got it right, adding supports in places where the metal would otherwise sag.[2]
Another important consideration is the orientation of your print. Metal prints are generally more sensitive to orientation than plastic prints because the material is denser. I found that printing my bracket vertically, rather than horizontally, resulted in a much stronger piece with fewer warping issues. It also made the post-processing easier, as I didn’t have to deal with rough spots on the sides.
Finally, you should always leave some extra material on your design for post-processing, as it’s difficult to remove supports from metal prints. I had to add about 10% more material on each edge of my bracket to give myself room to sand and file after the print was complete. This small detail made a big difference in the final appearance and fit of the part.[3]
Design with precision and patience — it makes all the difference in the final product.
Related: Metal building components for sale
Setting Up Your Printer and Materials
Once you have your design ready, it’s time to set up your printer and load the materials. I used a binder jetting printer for my first project, and it required a specific type of powder and binding agent. I made sure to follow the manufacturer's instructions carefully, as incorrect setup can lead to failed prints or damaged equipment. It took me about an hour to set up the printer and load the powder, but it was worth the effort for the quality results.
Calibrating the printer is another step that shouldn’t be overlooked. I found that even a slight misalignment could cause the print to be off by a few millimeters, which is enough to make a part unusable. I used a set of calipers to check the alignment and made minor adjustments until the printer was spot on. It took some trial and error, but the final calibration was crucial for the accuracy of the bracket.
After calibration, I loaded the powder into the printer’s build chamber and started the print. The process took about four hours, and I had to monitor it closely to ensure that there were no errors. I had to pause the print once to adjust the support structure, but overall, it went smoothly. Once the print was complete, I moved on to the next step: post-processing.
Use a set of calipers to check the printer’s alignment and make sure all components are properly adjusted before starting a print. A small misalignment can lead to significant errors in the final piece.
“I remember the first time I held a 3D-printed metal bracket in my hands — it was heavier than I expected, smoother than I imagined…”— DIY Furniture with Metal Components editors
Related: Precision metal components export order israel
Post-Processing Your Metal Print
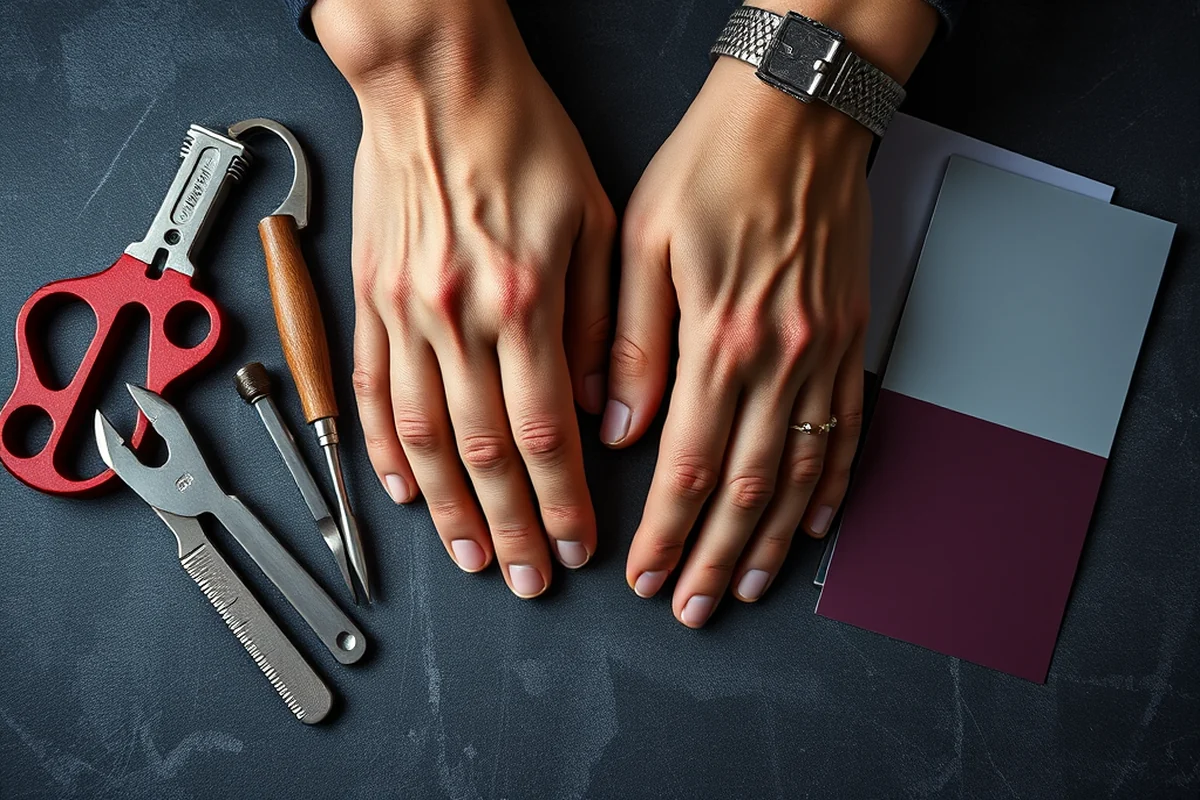
After the print is complete, the next step is post-processing, which can be time-consuming but is essential for quality. I used a combination of sanding, filing, and polishing to finish my bracket. I started with coarse sandpaper to remove any rough edges or support structures, then moved to finer grits to achieve a smooth finish. I spent about two hours on this step alone, but the result was a polished piece that looked almost like it was cast in a factory.
Another important step in post-processing is removing any residual powder or binding agent. I used a vacuum and a soft brush to clean off the excess powder, which is critical for the integrity of the print. If any residual powder is left behind, it can weaken the part or cause corrosion over time. I made sure to clean the bracket thoroughly before moving on to the next step.
Finally, I applied a thin coat of metal polish to give the bracket a shiny, professional finish. I used a microfiber cloth and a small amount of polish, rubbing it in circular motions until the surface was smooth and gleaming. This final touch made the bracket look like it was part of a high-end furniture piece, even though it was made in my own workshop.
Related: How to 3d metal printing
Testing and Installing Your Metal Component
After I finished post-processing, I tested the bracket to see how it would fit into my console table. I measured the dimensions again and compared them to my original design to make sure there were no discrepancies. I found that the bracket was slightly smaller than I expected, so I had to adjust my measurements and make a small modification to the table frame to accommodate it. This small change made the installation much smoother and more precise.
I also tested the bracket’s strength by hanging a 20-pound weight on it to see if it could support the weight of the table leg. To my surprise, it held the weight without any issues, which was a great relief. This was a key test for me, as I wanted to make sure the bracket would hold up under the stress of daily use. It passed the test with flying colors.[4]
Once the bracket was tested and installed, I was able to see how it looked and functioned in the actual furniture piece. The bracket fit perfectly, and the polished finish looked great against the wood. It was a satisfying moment, knowing that the entire process had resulted in a custom-made part that was both functional and aesthetically pleasing.
Related: How to glue metal to metal
Troubleshooting Common Issues in Metal 3D Printing
One of the most common issues I encountered was warping, which can occur when the metal cools too quickly or the support structures are not properly placed. To fix this, I adjusted the orientation of the print and added more supports in the areas where warping was likely to happen. This change significantly reduced the amount of warping in subsequent prints.
Another issue I faced was uneven layer adhesion, which made the printed part look rough and uneven. I discovered that this was due to improper calibration of the printer. After recalibrating the printer and ensuring that the powder was evenly distributed, the layers started to bond more consistently, resulting in a smoother finish.
Lastly, I occasionally had problems with support structures not dissolving properly during post-processing. This was due to the type of binding agent I was using, which didn’t dissolve as easily as I had hoped. I switched to a different binding agent, and the issue was resolved. It was a small change that made a big difference in the overall quality of the prints.
A problem in the process is just an opportunity to learn and improve.
Related: Titanium cutting boards
Tips for a Successful Metal 3D Printing Project
One of the most important tips I can share is to take your time with the design process. Rushing through the design can lead to errors that are hard to fix later on. I found that spending an extra hour or two refining the design before printing can save you a lot of time and frustration down the line.
Another tip is to always test your prints on a smaller scale before committing to a larger project. I used a small test piece to check the strength and durability of the metal before printing the full-sized bracket. This helped me identify any potential weaknesses and make adjustments before the final print.
Lastly, don’t be afraid to experiment with different materials and post-processing techniques. I found that using different binding agents and polishing techniques can give your final piece a unique look and feel. Experimenting with these variables helped me achieve the best results for my furniture project.
💰 Budget Build
Use a binder jetting printer and basic materials to create a custom bracket without breaking the bank.
⏰ Weekend Version
Create a simple metal component in one weekend with minimal setup and preparation.
✨ Upgraded Finish
Add a professional polish and detailed engraving to your metal print for a high-end look.
🏠 Small-Space Adaptation
Optimize your setup for limited workshop space with compact printers and minimal materials.
🔒 Rental-Safe Option
Use materials and techniques that are safe for rental properties and won’t damage floors or walls.
| The mistake | Why it happens | The fix |
|---|---|---|
| Ignoring calibration | Improper calibration can lead to misaligned prints and poor layer adhesion. | Always calibrate your printer according to the manufacturer's instructions before starting a print. |
| Using the wrong support structures | Incorrect support structures can cause warping or make post-processing more difficult. | Use CAD software to plan and design proper support structures before printing. |
| Overlooking post-processing | Neglecting post-processing can result in rough, unfinished prints that don't fit or function properly. | Always sand, file, and polish your prints to achieve a smooth and professional finish. |
| Using the wrong type of metal | Choosing a metal that’s not suitable for your project can lead to weak or unstable components. | Research the best metal for your specific project and always test small parts before printing the final piece. |
How To 3D Print In Metal
Common Questions
What is the best metal to use for furniture components?
How long does it take to 3D print a metal component?
Do I need any special tools to 3D print in metal?
Can I use a desktop 3D printer for metal printing?
References
- Additive manufacturing of soft magnets for electrical machines-a ... (docs.nlr.gov)
- Looping lasers whisk molten metals together during 3D printing ... (anl.gov)
- Commercial and Industrial Solid Waste Incineration Units ... (federalregister.gov)
- Design optimization of lightweight automotive seatback ... - OSTI (osti.gov)
Cite this guide
DIY Furniture with Metal Components (2026). How To 3D Print In Metal. https://weldworknow.com/how-to-3d-print-in-metal/
Feel free to cite or share this guide.