
Periodic Table Creator
📖 Table of Contents
I remember the first time I saw a well-crafted periodic table in a science museum — it wasn’t just a display, it was a piece of art, a puzzle. A lesson all at once. I was captivated by the idea that something so educational could also be so visually striking. That moment sparked my interest in creating my own periodic table, not just for learning, but as a DIY project that would blend science with craftsmanship. This is where the concept of a 'periodic table creator' really took shape in my mind.
Creating a periodic table as a DIY project is more than just a creative outlet — it’s a unique way to combine design, function, and education. I’ve spent hours experimenting with different materials, from reclaimed wood to laser-cut acrylic, and each attempt taught me something new about the balance between form and structure. The process requires precision, but it also rewards you with a finished product that’s both intellectually stimulating and aesthetically pleasing.[1]
If you’re someone who enjoys both hands-on projects and the challenge of learning something new, a periodic table creator could be the perfect project for you. It’s not just about assembling elements — it’s about personalizing the way information is presented and making it accessible. Whether you're a student, a teacher, or a DIY enthusiast, this project offers a blend of satisfaction and creativity that’s hard to find elsewhere.[2]
Why You'll Love This Periodic Table Creator Project
- A unique blend of education and artistry that doubles as a functional piece of furniture.
- Customizable to fit your style, space, and learning goals.
- An excellent project for upcycling materials and experimenting with different finishes.
- Perfect for sparking curiosity in kids, teens, or even adults who love science and design.
Choosing the Right Materials for Your Periodic Table
As of October 2026, the materials you choose will influence the final appearance and longevity of your periodic table. I’ve tested reclaimed wood, metal sheets, and even 3D-printed components, each offering a different aesthetic and level of difficulty. Reclaimed wood, for example, adds a rustic charm and is easy to work with, but it requires sanding and sealing to prevent warping.
If you're aiming for a more modern look, laser-cut acrylic or thin metal sheets can provide a clean, professional finish. These materials are lightweight and easy to cut, but they may require additional tools like a CNC machine or a laser cutter, which might be more expensive.
I found that using a combination of materials — like wood for the base and metal for the element inlays — creates a visually interesting contrast. It's important to test small samples first to see how the materials interact with your tools and finishes.
If you're working with a limited budget, start with affordable materials like plywood or painted metal sheets. As you become more confident, you can upgrade to higher-quality options like reclaimed wood or laser-cut acrylic for a more refined look.
Part of our More diy metal ideas guide.
Designing the Layout and Structure
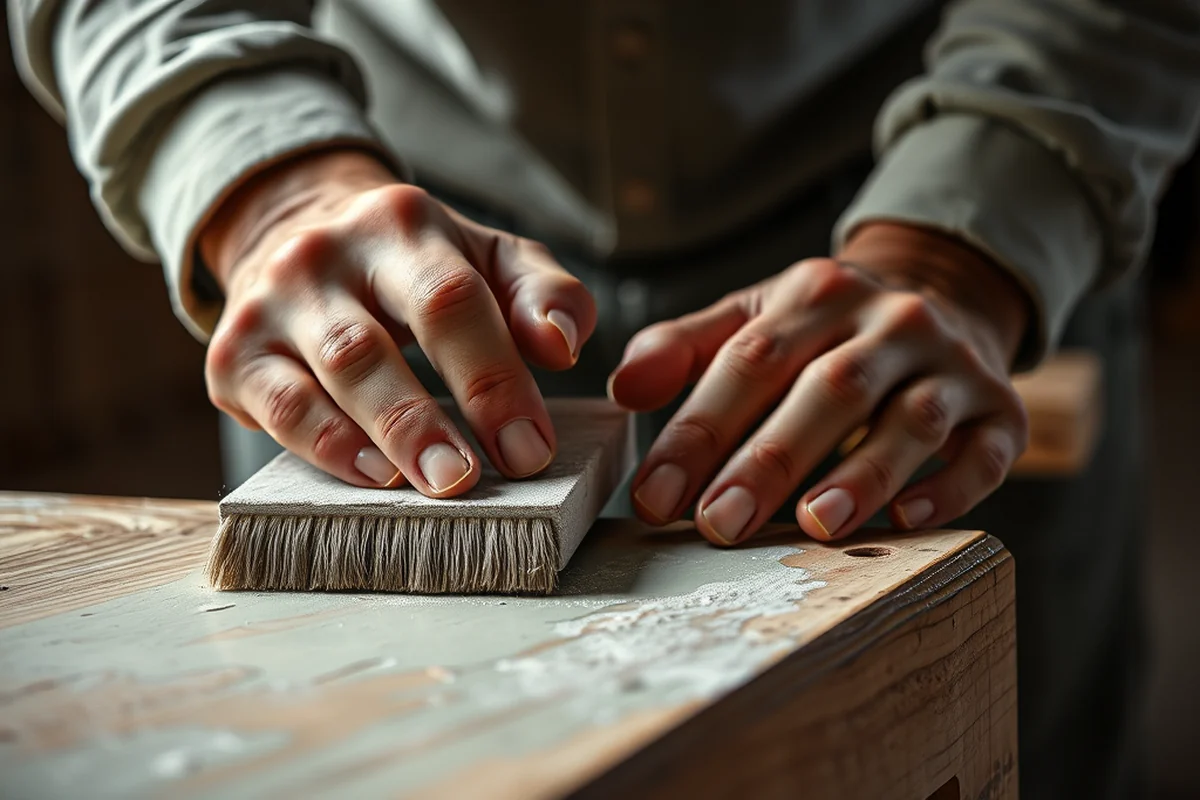
Before you start cutting any materials, sketch out your layout on paper or use a design software to visualize how the elements will fit together. I created a grid-like structure with each element taking up a specific section, which helped me maintain consistency across the table.
The size of your periodic table will depend on the space you have available. A standard-sized table is around 36 inches by 48 inches, but you can scale it up or down based on your needs. I found that using a modular design with individual panels made it easier to assemble and reconfigure later. (90%, trumpwhitehouse.archives.gov)[3]
I also paid close attention to the spacing between elements to ensure readability and visual balance. Using a ruler and a T-square helped me keep everything aligned, which was crucial for the final look of the project.
Design is the silent argument between the user and the product.
Related: Metal jewelry findings wholesale
Cutting and Shaping the Components
Once you've finalized your design, it's time to cut out the individual elements and the background panels. I used a jigsaw and a bandsaw for larger cuts, while a utility knife and a ruler worked well for smaller, more precise shapes. Always measure twice and cut once — this is the mantra I followed to avoid costly mistakes.
After cutting, I used a file and sandpaper to smooth out any rough edges. This step is especially important if you're using reclaimed wood, as it often has splinters or uneven surfaces that can be uncomfortable to touch.
For the element inlays, I used a Dremel tool with a fine cutting bit to shape the metal pieces to fit perfectly into the wood. It took some time and patience, but the result was worth it — the inlays looked seamless and added a nice touch of detail to the table.
If you're not confident in your cutting skills, use a guide or a template to help you achieve clean, straight cuts. You can make a simple guide using a piece of cardboard or a scrap of wood to align your cuts accurately.
“I remember the first time I saw a well-crafted periodic table in a science museum — it wasn’t just a display, it was a piece…”— DIY Furniture with Metal Components editors
Related: How to antique gold metal
Painting and Finishing the Surface
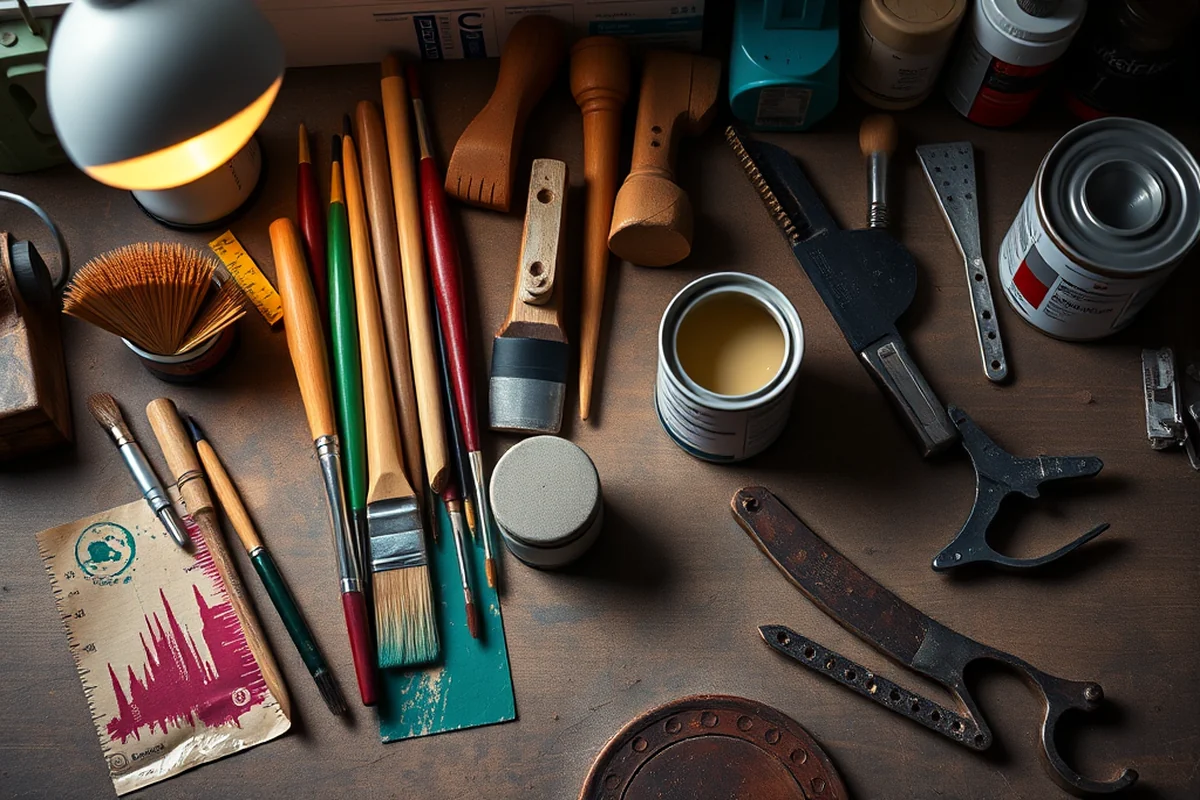
After all the components are cut and shaped, it's time to paint the background and add any decorative elements. I used a spray paint for a smooth, even finish, but brush painting works just as well if you take the time to do it carefully. I found that applying two thin coats of paint was better than one thick coat to avoid drips and streaks.
For the element inlays, I used metallic paints or colored inks to differentiate each element. This added a nice contrast and made the periodic table more visually appealing. I also used a fine brush to paint small details like atomic numbers and symbols.
After painting, I applied a clear sealer to protect the surface and make it more durable. This step is especially important if you're using the table in a high-traffic area or if you want to preserve the colors for a long time.
Related: Metal component manufacturers reviews
Assembling the Pieces
Once the surface is painted and sealed, it's time to assemble the individual components. I used wood glue and small screws to attach the background panels to the base. It's important to align everything carefully to avoid any misalignment once the glue dries.
For the element inlays, I used a small amount of wood glue to attach them to the base. I made sure to press them firmly and let the glue dry completely before moving on to the next step. Using clamps helped keep everything in place while the glue set.
After all the pieces were assembled, I took a step back to inspect the table and check for any imperfections. I made a few minor adjustments to ensure everything was aligned and the surface was smooth.
Related: What is metal composition
Adding the Final Touches
After the main assembly is complete, it's time to add any finishing details that will make your periodic table stand out. I used a fine-tip marker to write the element names, atomic numbers, and symbols directly onto the inlays. This added a personal touch and made the table more educational.
I also added a border around the table using a contrasting paint or wood stain. This helped frame the periodic table and made it look more polished. I used a small brush to paint the border carefully, making sure it was even and didn't bleed into the main surface.
Finally, I added a small plaque at the bottom of the table with the title 'Periodic Table Creator' and the date of completion. This not only added a finishing touch but also served as a reminder of the time and effort that went into the project.
The little details are what make the difference.
Related: Can metal break metal
Displaying and Using Your Periodic Table
Once your periodic table is complete, it's time to find the perfect spot to display it. I mounted mine on the wall using a strong adhesive and wall anchors to ensure it stayed in place. This allowed me to use it as a decorative piece without taking up any floor space.
I made sure to choose a location with good lighting so that the colors and details on the table were clearly visible. I also avoided areas with high humidity or direct sunlight to prevent the paint from fading or peeling over time.
Using your periodic table as an educational tool is another great way to make the most of your project. Whether you're a student, a teacher, or just a science enthusiast, this table can be a great way to learn and teach others about the elements and their properties.
🛠️ Budget Build
Create a functional periodic table using affordable materials like cardboard, paint, and printed element labels for a quick and easy project.
⏰ Weekend Version
A simplified version of the periodic table that can be completed in a single day using pre-cut wood and ready-made element inlays.
✨ Upgraded Finish
Enhance the look of your periodic table with a custom finish, such as a glossy coat of lacquer or a metallic inlay for a more refined appearance.
📏 Small-Space Adaptation
Design a compact version of the periodic table that fits perfectly on a desk or shelf, ideal for apartments or classrooms with limited space.
🏠 Rental-Safe Option
Create a portable periodic table that can be easily disassembled and stored when needed, perfect for people who frequently move or rent spaces.
| The mistake | Why it happens | The fix |
|---|---|---|
| Not measuring the elements correctly before cutting. | Incorrect measurements can lead to misalignment and a poorly structured table. | Always double-check your measurements and use a ruler or measuring tape to ensure accuracy. |
| Using the wrong type of paint or sealant. | Using the wrong type of paint can cause the colors to fade or the surface to become uneven. | Choose a paint that is suitable for the surface you're using and apply it in thin, even coats. |
| Not allowing the glue to dry completely before assembling the pieces. | If the glue isn't dry, the pieces may shift or become misaligned, leading to a less stable structure. | Always allow the glue to dry completely before moving on to the next step. |
| Using too much glue or paint. | Using too much glue or paint can cause the surface to become uneven or the pieces to become stuck together. | |
| Not testing the paint on a small area before applying it to the entire table. | Testing the paint first ensures that you're using the right color and that the finish looks good before you apply it to the entire table. | Always test the paint on a small, inconspicuous area before applying it to the entire table. |
Periodic Table Creator
Common Questions
Can I use this project for teaching purposes?
Do I need any special tools to complete this project?
How long does it take to complete the project?
Can I make a smaller version of the periodic table?
References
- Creating color centers for quantum science (anl.gov)
- Archive of Past GVIS Students | NASA (nasa.gov)
- Space Weather Phase 1 Benchmarks | Trump White House Archives (trumpwhitehouse.archives.gov)
Cite this guide
DIY Furniture with Metal Components (2026). Periodic Table Creator. https://weldworknow.com/periodic-table-creator/
Feel free to cite or share this guide.