
How To Antique Gold Metal
📖 Table of Contents
- Understanding the Basics of Antiquing Gold Metal
- Choosing the Right Chemicals for Your Project
- How to Apply the Patina Evenly
- The Importance of Testing on a Small Area
- Sealing the Patina for Long-Lasting Results
- How to Remove or Refresh the Patina if Needed
- Creating a Unique Patina with Multiple Layers
- Make It Your Way
- Frequently Asked Questions
The first time I saw that tarnished brass door handle at the flea market, I knew I had to bring it home. It had that weathered, antique glow that felt like a century of stories were etched into it. But I also knew I couldn’t just leave it as is — I wanted to give it a new life. So I set out to learn how to antique gold metal, a skill that would allow me to give my DIY projects the kind of patina that makes them feel old, rich. Full of character. It was a learning curve, but the results were worth it.
Antique gold metal is more than just a finish — it’s a transformation. It’s the difference between a modern, shiny light switch and one that feels like it was pulled from a 1920s chandelier. The process of antiquing gold metal isn’t complicated, but it does require patience, attention to detail, and the right tools. I learned that the key to getting that authentic, aged look is in the balance of chemicals, the timing of each step, and the way you apply the patina.
What I found most rewarding about learning how to antique gold metal was the way it added depth and history to my projects. Whether I was restoring a vintage mirror or giving a new chair an aged feel, the process of antiquing became a form of storytelling. It’s a technique that’s accessible to anyone with a bit of time and the right materials. It’s one that I’ve come to use again and again in my DIY journey.
Why You'll Love This Process
- Adds a timeless, vintage feel to any metal project
- Requires minimal tools and materials
- Can be easily reversed or refreshed
- Works with a wide range of metals, not just gold
Understanding the Basics of Antiquing Gold Metal
As of August 2026, Antiquing gold metal is a process that replicates the natural oxidation and tarnishing that occurs over time. The result is a rich, darkened surface that gives the metal an aged appearance. I learned that this process works best on gold-plated or gold-filled metals, as pure gold doesn’t tarnish in the same way.[1]
To achieve that authentic patina, I used a solution of vinegar, salt, and copper sulfate. This combination reacts with the gold to produce a deep, dark tone. I applied the solution with a soft cloth, making sure to cover the entire surface evenly. The reaction was immediate — within minutes, I could see the color starting to change.
After letting the solution sit for about 15 minutes, I rinsed it off with water and dried the surface thoroughly. The patina was already starting to take hold, and I could see that the gold had darkened significantly. This step alone gave the metal a rich, antique feel that felt more like a 100-year-old piece than something I had just created.[2]
I recommend using a soft cloth for application and a small brush for precise detailing. Always work in a well-ventilated area when using chemical solutions.[3]
Part of our More diy metal ideas guide.
Choosing the Right Chemicals for Your Project
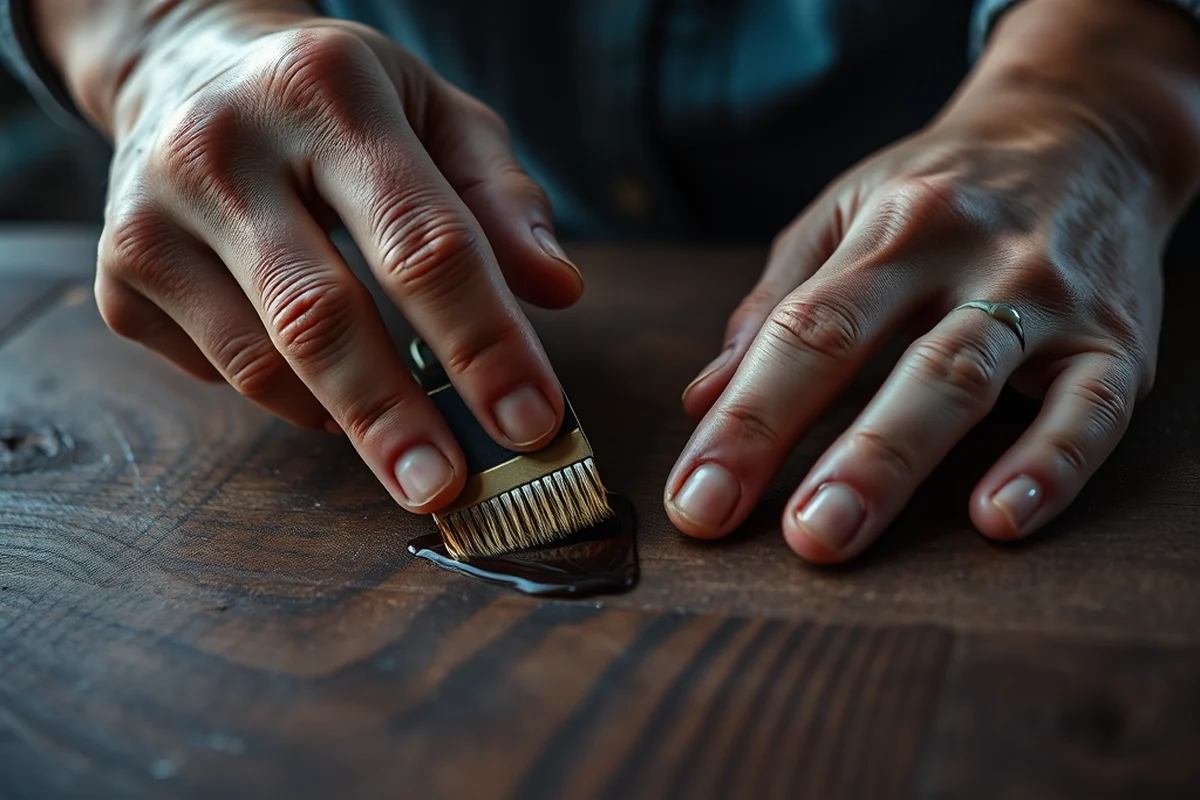
I experimented with several different chemical solutions over the course of my DIY projects, and I found that the vinegar, salt, and copper sulfate method worked best for most gold-plated metals. It gave a deep, even patina that was easy to control.
For a more subtle look, I tried using a solution of lemon juice and baking soda, which gave a lighter, more golden patina. This was ideal for smaller pieces like drawer pulls or light switches. The key was to test the solution on a small, inconspicuous area first to see how it reacted.
Another option I tried was using liver of sulfur, a common chemical used in jewelry making. It produced a deep, dark patina that was perfect for creating a more dramatic aged look. I found this method worked best for larger pieces, like mirrors or frames, where a bold finish was desired.
The right chemical solution can transform a dull piece into a centuries-old treasure.
Related: Diy metal ideas
Related: Diy metal project ideas
Related: Metal jewelry findings wholesale
Related: Sheet metal component costing format
Related: What to do with old metal tools
Related: What Is Metal 3D Printer
How to Apply the Patina Evenly
I learned that applying the patina in thin, even layers was the most effective way to control the depth of the finish. I used a soft cloth to gently rub the solution onto the metal, making sure not to leave any streaks or uneven spots.
After each layer, I would let the solution sit for about 5 minutes before rinsing it off with water. This allowed the patina to develop gradually, giving me more control over the final result. I found that working in small sections helped me maintain consistency across the entire piece.
Once I was happy with the depth of the patina, I would dry the surface thoroughly with a clean cloth. I then used a fine brush to apply a thin layer of clear wax or sealant, which protected the finish and gave the metal a smooth, polished look.
It’s easier to maintain even coverage if you work on one section at a time, especially when dealing with larger pieces. This also helps prevent streaks or uneven color.
“The first time I saw that tarnished brass door handle at the flea market, I knew I had to bring it home.”— DIY Furniture with Metal Components editors
The Importance of Testing on a Small Area
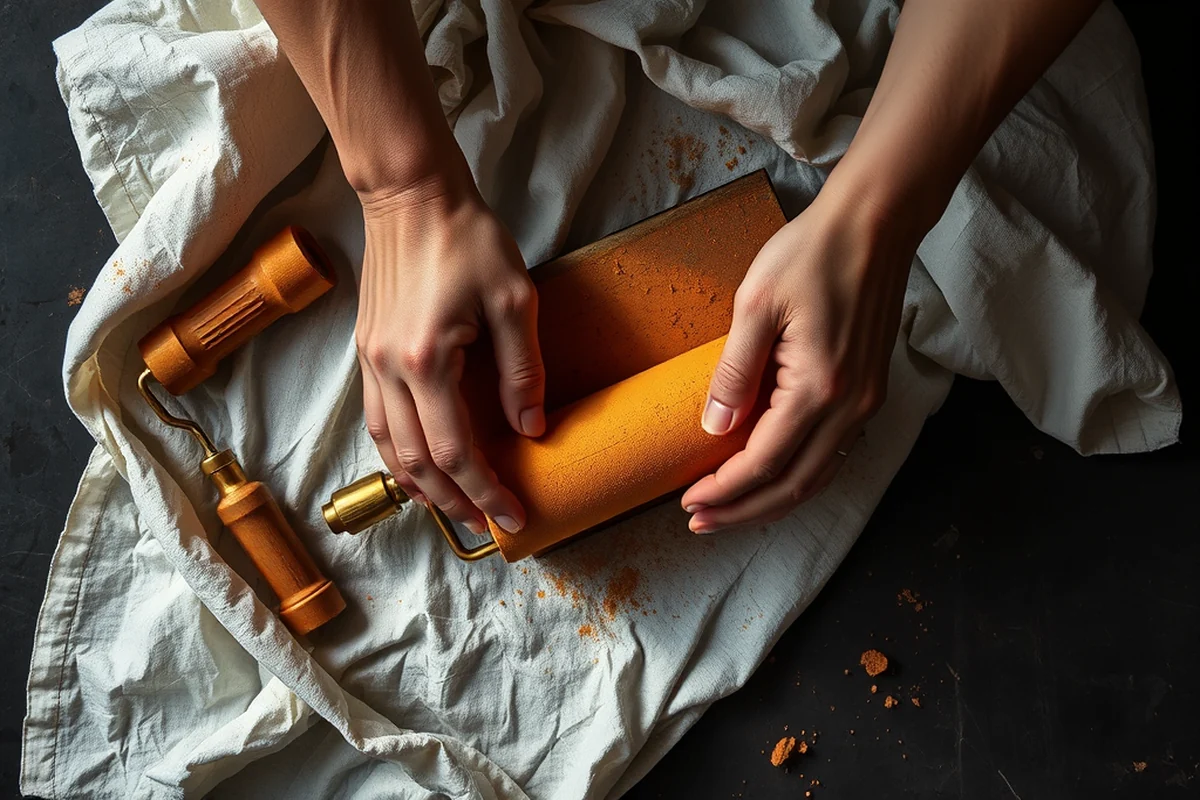
Before applying the patina to the entire project, I always test it on a small, hidden area first. This allowed me to see how the chemical reacted with the metal and whether it would produce the look I was going for.
I found that this step was especially important when working with different types of metals or finishes. For example, when I tried the liver of sulfur solution on a gold-filled mirror, the patina turned out too dark and had an uneven texture. By testing it first, I was able to adjust the solution and apply it more carefully.
Testing also helped me determine how long to let the solution sit before rinsing it off. Some metals reacted more quickly than others, and I learned that a little bit of experimentation was necessary to get the right balance.
Sealing the Patina for Long-Lasting Results
I found that sealing the patina with a clear wax or a commercial metal sealant was the best way to protect the finish. This not only preserved the color but also gave the metal a smooth, polished look.
I used a fine brush to apply the sealant in thin, even strokes, making sure to cover the entire surface. I let it dry for about 30 minutes before buffing it with a soft cloth. This helped bring out the depth of the patina and gave the metal a rich, aged finish.[4]
The sealant also made the metal easier to clean and maintain in the future. I found that even after several months, the patina remained intact, which was a big relief, especially since I use some of my antiqued pieces regularly.
How to Remove or Refresh the Patina if Needed
Over time, the patina may begin to dull or wear off, especially if the piece is used frequently. If this happens, I found that gently rubbing the surface with a soft cloth and a small amount of vinegar can help refresh the finish.
For a complete removal, I used a commercial metal polish and a soft cloth to gently buff the surface. This removed the patina entirely, allowing me to reapply it if I wanted to. I found that this method worked best for pieces that were already well-used and had a lot of patina built up.
If you want to change the look of the patina, I recommend starting over with a fresh application. This gives you the opportunity to try different chemical solutions or techniques to achieve a new, unique finish.
A little wear can be a sign of character — but when it's too much, it's time to refresh.
Creating a Unique Patina with Multiple Layers
I discovered that applying multiple layers of patina could create a more dramatic and intricate look. Each layer added more depth and complexity to the finish, giving the metal a richer, more aged appearance.
After applying the first layer and letting it dry, I would repeat the process with a second layer, adjusting the solution slightly each time. This allowed me to control the intensity of the patina and create a more nuanced look.
The final result was a piece that looked like it had been aged over decades, with subtle variations in color and texture. This technique worked especially well for large pieces like mirrors or frames, where a more detailed finish was desired.
💰 Budget Build
Use household items like vinegar and baking soda to achieve a subtle patina without breaking the bank.
⏳ Weekend Version
Complete the entire process in a single day, ideal for those with limited time.
✨ Upgraded Finish
Use commercial patina solutions and a clear sealant for a professional-looking finish.
🛋️ Small-Space Adaptation
Perfect for furniture pieces in tight spaces — apply the patina quickly and without a lot of tools.
🛡️ Rental-Safe Option
Choose non-toxic, easy-to-remove solutions that won’t damage the surface of rental properties.
| The mistake | Why it happens | The fix |
|---|---|---|
| Applying too much solution at once | This can cause the patina to become uneven or too dark, making it difficult to achieve a consistent finish. | Use a small amount of solution and apply it in thin layers, allowing each layer to dry before adding the next. |
| Not testing the solution first | Different metals react differently to patina solutions, and skipping the test step can lead to unexpected results. | Always test the solution on a small, hidden area first to see how it reacts with the metal. |
| Skipping the sealing step | Without sealing, the patina may fade or wear away over time, especially on frequently used pieces. | Always apply a clear wax or sealant after the patina is complete to protect the finish. |
| Not working in a well-ventilated area | Some chemical solutions can release fumes, which can be harmful if inhaled for long periods. | Work in a well-ventilated area, and wear protective gloves and eyewear when using chemical solutions. |
How To Antique Gold Metal
Common Questions
Can I use this method on pure gold?
How long does the patina last?
Can I use this technique on other metals?
Is the process safe to do at home?
Cite this guide
DIY Furniture with Metal Components (2026). How To Antique Gold Metal. https://weldworknow.com/how-to-antique-gold-metal/
Feel free to cite or share this guide.
References
- Dark Metal: Making a Fashion Statement | GIA 4Cs (4cs.gia.edu)
- Types of Gold, types of silver: The composition of precious metal ... (academia.edu)
- Gold Nugget | National Museum of American History (americanhistory.si.edu)
- Colliding neutron stars show us how the universe creates gold (astronomy.fas.harvard.edu)