
Diy Metal Gift Ideas
📖 Table of Contents
- Getting Started with Basic Tools and Materials
- The Beauty of Engraving and Customization
- Painting and Finishing Techniques
- Working with Different Metal Types
- Creating Functional Metal Gifts
- Making Decorative Metal Art
- Upcycling Scrap Metal for Creative Projects
- Adding Personalized Metal Engravings with Laser Tools
- Make It Your Way
- Frequently Asked Questions
I remember the first time I made a DIY metal gift for a friend — it was a simple keychain, but the look on their face when they saw it was unforgettable. The satisfaction of creating something from scratch and watching it bring joy to someone else is what keeps me coming back to metal projects. There's a real magic in the way metal can be transformed from raw, unassuming sheets into personalized keepsakes or functional decor.[5]
DIY metal gift ideas are more than just a trend; they're a way to infuse personal meaning into objects that can be used daily. Whether it's a custom nameplate, a hand-forged candle holder, or an engraved jewelry stand, working with metal allows for a level of customization that's hard to achieve with other materials. I've found that the right tools and a little patience can turn even the most basic metal pieces into standout gifts.
I've made everything from minimalist pendant lights to intricate wall art, and each project has taught me something new. The process of cutting, welding, and finishing metal has become a personal ritual for me — one that's both challenging and deeply rewarding. If you're looking to create something unique and lasting, DIY metal gift ideas might just be the perfect place to start.
Why You'll Love This ...
- Personalized, one-of-a-kind gifts that reflect your creativity
- Easy to customize with engraving, painting, or stamping
- Durable, long-lasting materials that won’t fade or break easily
- A great way to upcycle scrap metal into something beautiful
Getting Started with Basic Tools and Materials
As of August 2026, Starting with the right tools is key to any DIY metal project. I’ve found that a basic set including a metal shear, a file, and a bench vise can handle most small-scale projects. You’ll also need a few types of sandpaper for smoothing edges and a hammer for shaping metal if you’re working with sheets or rods.[1]
With materials, scrap metal from hardware stores or scrap yards is often the most cost-effective. I’ve used everything from old steel rods to discarded copper pipes. It’s important to clean and inspect the pieces first, as rust or damage can affect the final result.
The cost of tools and materials can be kept low by reusing what you have or sourcing secondhand. I’ve spent as little as $40 on materials for a weekend project, and the results were well worth the investment. The key is to start small and work your way up as you gain confidence with the materials.[2]
Don’t feel like you need to buy every tool upfront. I’ve used a pair of pliers and a hammer for simple cutouts and bends — it’s all about thinking creatively with what’s available.
Part of our More diy metal ideas guide.
The Beauty of Engraving and Customization
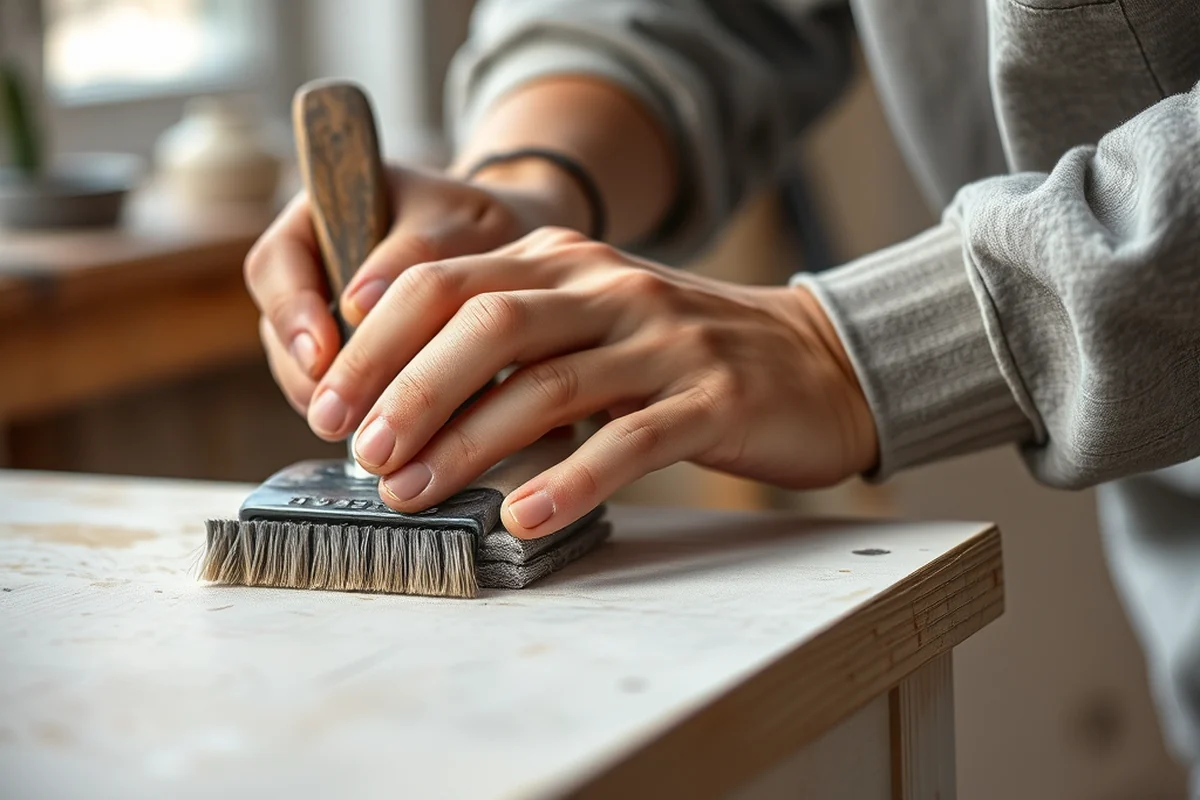
Engraving is one of the most satisfying parts of any metal project. I’ve used a handheld engraving tool to carve names, initials, or even small patterns into metal surfaces. The tool is simple to use — just press and move along the surface to create the desired design.
For more intricate engravings, I’ve sometimes used a rotary tool with a diamond-tipped bit. It allows for fine details like lettering or small geometric shapes. The process is slow, but the results are worth the effort. I once engraved a nameplate with my daughter’s initials and it became a cherished gift that she still uses every day.
It’s also possible to use a CNC machine if you have access to one, but I’ve found that manual engraving gives a more personal feel. Just be sure to mark your design on the metal first with a marker or scribe to avoid mistakes.
A little engraving can make all the difference in a DIY metal gift.
Related: Diy metal project ideas
Related: What attracts metal
Related: Metal vs material
Related: Metal Build Review
Related: Can metal break metal
Related: Types Of Metal
Painting and Finishing Techniques
Metal is a great surface for painting, but it’s important to prepare it properly. I always start by sanding the surface with fine-grit sandpaper to remove any oxidation or rough spots. After that, I apply a primer to help the paint adhere better.
I’ve used spray paint, acrylic paints, and even epoxy resin to finish my metal projects. Epoxy resin is my favorite because it gives a smooth, glossy finish and is highly resistant to chipping or peeling. I’ve applied it in thin layers and let each layer cure for a few hours before adding the next.
For a more rustic look, I’ve also used patina solutions that react with the metal to create a weathered effect. It’s a fun process that can transform plain metal into something that looks aged and authentic.
Always finish your metal gifts with a clear coat or sealant to protect the paint or patina. I’ve used a clear epoxy or a spray-on lacquer, and both have worked well for different projects.
“I remember the first time I made a DIY metal gift for a friend — it was a simple keychain, but the look on their…”— DIY Furniture with Metal Components editors
Working with Different Metal Types
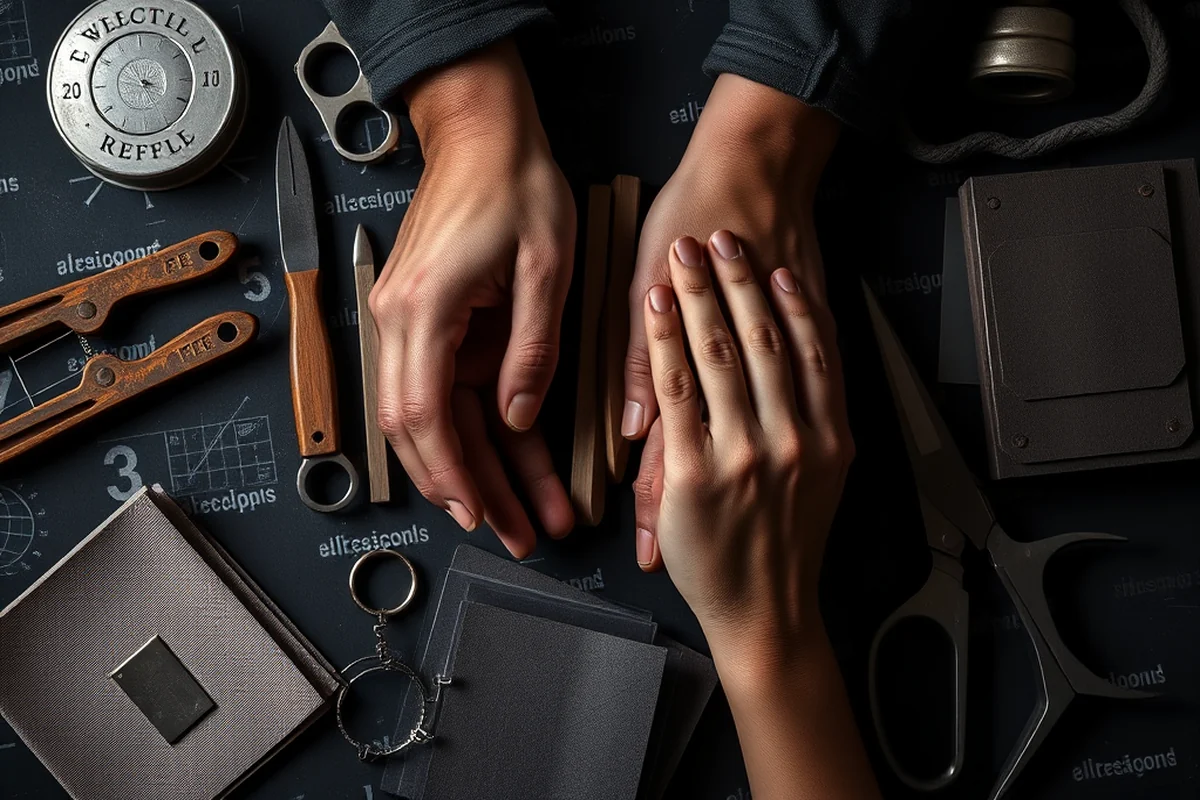
I’ve worked with a variety of metals, including aluminum, steel, and copper. Each has its own characteristics — aluminum is lightweight and easy to bend, steel is strong but can be harder to cut, and copper is malleable but can tarnish over time.
I’ve found that steel is the most versatile for beginners because it’s durable and holds shape well. However, it requires more effort to cut and weld. Copper is great for decorative pieces, but I’ve had to apply a clear coat to prevent tarnishing.
When working with aluminum, I’ve used a metal shear and a file to shape it into custom pieces. It’s a good choice for lightweight gifts like keychains or pendant lights. Just be sure to use the right tools and techniques for the type of metal you’re using.
Creating Functional Metal Gifts
Functional gifts are some of the most appreciated because they serve a purpose. I’ve made candle holders by cutting and shaping metal sheets into simple geometric shapes. It’s a project that doesn’t require welding and can be done in a weekend.
Wall hooks are another great option. They’re easy to make by cutting a piece of metal into a curved shape, drilling a hole for the screw, and then painting or engraving it. I’ve used them as gifts for friends who needed extra storage in their homes.
I’ve also made small metal organizers for keys, tools, and other items. These are great for people who appreciate practical, hands-on gifts. Just make sure to measure and cut the pieces precisely to ensure they fit together well.
Making Decorative Metal Art
Decorative pieces like wall art or sculptures are a great way to show off your creativity. I’ve made a few wall pieces by welding together scrap metal into abstract shapes. The process is time-consuming but rewarding, especially when you see the final product hanging on someone’s wall.
For a more intricate look, I’ve used a metal lathe to create detailed patterns or shapes. It requires some practice to get the hang of, but it’s a great way to create unique pieces that can be used as centerpieces or wall art.
I’ve also experimented with metal etching, which involves using an etching solution to create patterns on the surface. It’s a fun way to add texture and detail to your projects. Just be sure to follow safety precautions when working with chemicals.
Metal art can be the perfect way to express your creative side.
Upcycling Scrap Metal for Creative Projects
I’ve used scrap metal from hardware stores, construction sites, and even old appliances to create gifts. It’s a sustainable way to make something new and is often much cheaper than buying new materials.
One of my favorite projects was turning scrap metal into a set of wall-mounted shelves. I cut and welded the pieces together, then painted them to match the room. The result was a functional and stylish addition to the space.
When working with scrap metal, I always check for rust or damage before starting. If there’s rust, I sand it off and apply a primer before painting. This helps ensure the final piece looks clean and lasts longer.
Adding Personalized Metal Engravings with Laser Tools
Laser engraving is a fantastic way to add personalized details to metal gifts, and it's easier than you might think. I recently used a 100W CO2 laser engraver to etch custom names onto a set of brass keychains, and the process took just 15 minutes per piece. The laser's precision allowed me to create intricate designs, like small monograms or even simple line art, without any burning or distortion. The cost of the laser machine was around $1,200, but it's a one-time investment that pays off for multiple projects.[3]
For those who don’t have access to a laser engraver, there are affordable alternatives like handheld engraving tools with diamond tips. I used one to carve a small heart shape into a steel pendant, and it worked surprisingly well, though it took about 20 minutes per piece and required some patience. The tools cost about $50, and they're great for small-scale projects or beginners who want to experiment without a large upfront cost.[4]
Another tip is to always test your engraving on a scrap piece of metal first. I learned this the hard way when I engraved directly onto a finished gift and ended up damaging the surface. Testing allows you to adjust the depth and speed of the engraving, ensuring the final result looks professional. Also, using a lubricant like water or oil during the engraving process helps reduce friction and heat, which can prevent warping or overheating the metal.
💰 Budget Build
Create a simple keychain or pendant using scrap metal and basic tools — perfect for a low-cost gift.
⏰ Weekend Version
Make a wall hook or candle holder in a single weekend using pre-cut metal pieces and paint.
✨ Upgraded Finish
Add a professional touch with epoxy resin or patina solutions for a more polished look.
🏠 Small-Space Adaptation
Make compact metal organizers or desk accessories that are perfect for small apartments or offices.
🔒 Rental-Safe Option
Create a portable gift like a keychain or pendant that won’t damage rental properties.
| The mistake | Why it happens | The fix |
|---|---|---|
| Cutting metal without proper tools | Cutting metal without the right tools can result in jagged edges or damage to the material. | Use a metal shear or a jigsaw with a metal-cutting blade to ensure clean, accurate cuts. |
| Skipping the primer step | Failing to apply a primer before painting can lead to peeling or chipping paint. | Always apply a primer to the metal surface before painting, especially if using spray paint. |
| Using the wrong type of paint | Using regular acrylic paint on metal can cause it to chip or flake over time. | Use a paint specifically designed for metal surfaces, such as spray paint or epoxy resin. |
| Ignoring safety precautions | Working with metal can involve sharp edges, heat, and chemicals, which can be dangerous if not handled properly. | Wear protective gear like gloves, goggles, and a mask when cutting, welding, or using chemicals. |
Diy Metal Gift Ideas
Common Questions
What type of metal should I use for a beginner project?
How do I prevent my metal gift from rusting?
Can I use spray paint on metal?
What tools do I need for a basic metal gift?
Cite this guide
DIY Furniture with Metal Components (2026). Diy Metal Gift Ideas. https://weldworknow.com/diy-metal-gift-ideas/
Feel free to cite or share this guide.
References
- 13-1802 - Theft; classification; definitions (azleg.gov)
- GIA Holiday Shopping Guide: Gift ideas for Men (4cs.gia.edu)
- Metal Hoards as Ritual Gift. Circulation, Collection and Alienation of ... (academia.edu)
- PDF Experiential Gifts Foster Stronger Social Relationships than Material Gifts (anderson.ucla.edu)
- AMU Gifts Pumpkin Sculpture to City of Anoka (anokamn.gov)