
What Is Metallic Paint
📖 Table of Contents
- What Exactly Is Metallic Paint?
- How Metallic Paint Differs from Regular Paint
- The Best Surfaces for Metallic Paint
- How to Apply Metallic Paint
- The Best Tools for Metallic Paint Projects
- Why Metallic Paint Is a Favorite Among DIYers
- How to Maintain Metallic Paint Over Time
- The Role of Light in Metallic Paint Appearance
- Cost-Effective Alternatives to Metallic Paint
- Make It Your Way
- Frequently Asked Questions
I still remember the first time I saw metallic paint on a piece of furniture — it was a side table I’d inherited from my grandmother. It had a dull, chipped finish that made me want to throw it out. But then I saw the shimmer in the light, the way it caught the sun like a mirror, and I knew that this was something special. Metallic paint, I learned, was more than just a decorative option; it was a transformation tool, a way to give old furniture a new lease on life with just a few coats and a bit of patience.
As a DIYer, I’ve spent countless hours researching and experimenting with different finishes, and metallic paint quickly rose to the top of my list. What makes it so unique is the way it reflects light, creating that subtle, almost magical effect that makes your furniture stand out. But I didn’t always know how to use it — I had to figure out the right tools, the right techniques, and the right products. Now, I want to share that knowledge with you, so you can do the same with your own projects.
What is metallic paint, you might be asking? Well, it’s not just a fancy name for something you can buy at the hardware store. It’s a specific type of paint that uses metallic particles — like aluminum, copper, or even gold — to create that eye-catching sheen. But it’s not just about the look; there’s a lot to know about how it behaves, how it works. Why it’s becoming a favorite among DIYers who want to add a touch of luxury to their furniture without breaking the bank.
Why You'll Love This Finish
- Adds a unique, eye-catching sheen to your furniture
- Can be used on both wood and metal surfaces
- Requires minimal tools and materials for a beginner-friendly project
- Offers a luxurious look that can elevate any room in your home
What Exactly Is Metallic Paint?
As of September 2026, at its core, metallic paint is made with a base of paint, typically acrylic or latex, mixed with finely ground metallic particles such as aluminum, copper, or even gold. These particles reflect light in different directions, creating a dynamic, shimmering effect that’s both eye-catching and versatile.
What’s fascinating is how different colors and types of metallic paint can affect the overall look of a piece. A gold metallic paint, for example, can give a piece of furniture a warm, luxurious feel, while a silver one can make it look sleek and modern.
One thing I’ve learned through trial and error is that the type of metallic paint you choose can dramatically affect the outcome. I once used a low-quality metallic paint that dried with a dull finish — a big mistake. Always go for high-quality products to achieve the best results.
Look for metallic paints that are labeled as 'high sheen' or 'metallic finish.' Avoid lower-quality options that may not reflect light properly or may chip easily.
How Metallic Paint Differs from Regular Paint
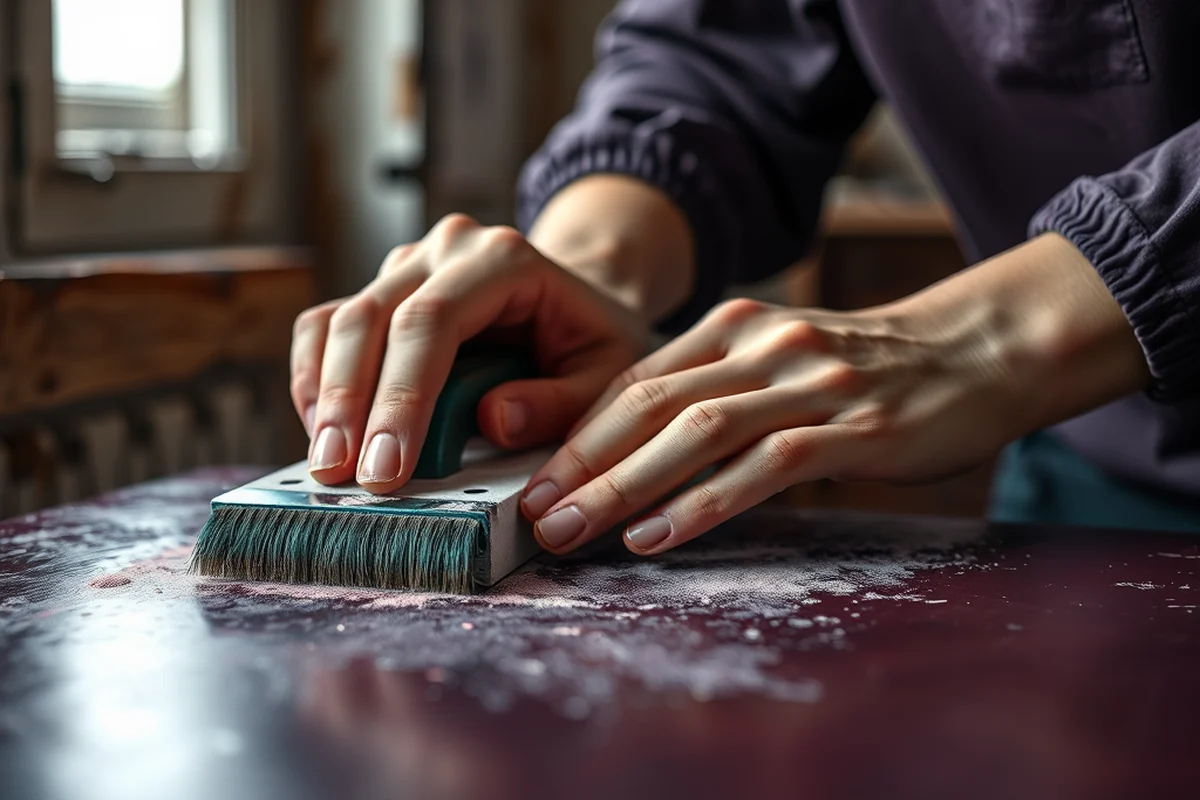
Compared to regular paint, metallic paint has a much higher level of reflectivity, which gives it that signature shimmer. Regular paint, on the other hand, is more matte or semi-gloss, and it lacks the depth and dimension that metallic paint provides.
I’ve noticed that when applying metallic paint, it’s important to use a high-quality brush or spray gun to ensure an even coat. I tried using a low-quality brush once, and the paint came out streaky and uneven — a big disappointment.
The difference in finish is so noticeable that even a small piece of furniture painted with metallic paint can look completely different from one painted with regular paint. It’s a game-changer in terms of aesthetics.
Metallic paint adds a dimension that regular paint just can’t match — it’s like adding light to your furniture.
Related: Which brand steel is best for construction
Related: What Is Metallic Spray Paint
The Best Surfaces for Metallic Paint
I’ve found that metallic paint tends to look best on smooth surfaces. Rough or porous surfaces can absorb the paint unevenly, leading to a mottled or inconsistent finish. That’s why it’s important to sand and prime your surface before applying metallic paint.
I once tried painting a piece of furniture with a rough, unprimed surface, and the result was a dull, patchy finish that I didn’t like. I had to sand it down and start over — a lesson I won’t forget.
For the best results, I recommend using a fine-grit sandpaper (like 220 grit) to smooth the surface and then applying a primer. This ensures that the metallic paint adheres properly and looks its best.[1]
Always sand your surface before painting, and apply a primer to ensure the metallic paint adheres properly and looks smooth and even.
“I still remember the first time I saw metallic paint on a piece of furniture — it was a side table I’d inherited from my…”— DIY Furniture with Metal Components editors
Related: Best metal components coimbatore
How to Apply Metallic Paint

I recommend using a high-quality brush or a spray gun to apply metallic paint. A brush is easier for beginners, but a spray gun can give you a more even and professional-looking finish.[2]
I’ve found that applying multiple thin coats of paint is better than a few thick ones. I once applied a thick coat of metallic paint, and it ended up looking clumpy and uneven — not the look I wanted.
After each coat, it’s important to let the paint dry completely before applying the next one. I’ve learned that rushing this step can lead to a bumpy, uneven finish that’s hard to fix.
Related: How to make an copper golem
The Best Tools for Metallic Paint Projects
I’ve found that the most important tools for a metallic paint project are a high-quality brush or spray gun, sandpaper, and a primer. These tools ensure a smooth, even finish that looks professional.
I used to think that a lot of tools were necessary, but in reality, a few high-quality ones go a long way. I’ve done several projects with just a brush, sandpaper, and a primer — and they all turned out great.
If you’re using a brush, choose one with soft bristles to avoid streaks or brush marks. For a spray gun, make sure to use the right nozzle size for your paint.
Related: Best metal components
Why Metallic Paint Is a Favorite Among DIYers
I’ve always been a fan of metallic paint because it gives a piece of furniture a look that feels expensive, even if the project was completed on a budget. It’s a way to improve your DIY projects without spending a fortune.
Another reason I love it is that it’s relatively easy to apply, especially if you follow the right techniques. I’ve done several projects with metallic paint, and each time, the finish came out looking great.
For beginners, metallic paint is a great option because it’s forgiving — as long as you follow the steps, you can achieve a professional-looking finish.
Metallic paint is like a little luxury in every DIY project — it doesn’t cost much, but it adds a lot of value.
Related: Metal building components diagram
How to Maintain Metallic Paint Over Time
One of the things I’ve learned is that metallic paint requires a bit of care to keep it looking shiny and new. I once tried cleaning a piece of furniture with a harsh chemical, and it stripped away some of the paint — not a good experience.
I now clean my metallic-painted furniture with a soft cloth and a mild soap solution. This keeps the finish looking clean and shiny without damaging it.
Another tip is to avoid using abrasive materials or scrubbing too hard. I’ve had to touch up a few areas where I accidentally scratched the paint, so it’s better to be gentle from the start.
The Role of Light in Metallic Paint Appearance
Metallic paint interacts with light in unique ways, creating a shimmer or sheen that shifts depending on the angle and intensity of the light source. When I painted a coffee table with a copper metallic finish, I noticed how the surface looked duller under cool, overhead lighting but sparkled under warm, ambient lamps. This means that the final look of your project depends heavily on the lighting in the room it will be placed in. If you're working on a piece that will be in a high-traffic area, consider how different times of day and artificial lights will impact the paint's appearance.
To ensure your metallic paint looks consistent, I recommend testing it in the actual environment where the final piece will be placed. This includes checking how it looks under natural daylight, evening lighting, and any overhead or task lighting. For example, I once painted a bookshelf and found that under the LED lighting in my home office, the metallic paint looked too reflective and distracting. I had to repaint it with a slightly matte finish to balance the sheen. This step can save you from costly mistakes down the line.[3]
Another practical tip is to avoid using metallic paint in areas with constant, direct sunlight. The paint's reflective properties can cause glare or make the surface feel uncomfortable. In one project, I used metallic paint on a kitchen backsplash, but the direct sunlight made it look too shiny and hot. I ended up using a satin finish instead, which provided a more balanced look. By understanding how light behaves with metallic paint, you can make informed decisions that enhance the aesthetics and functionality of your DIY projects.
Cost-Effective Alternatives to Metallic Paint
If your budget doesn't allow for expensive metallic paint, consider using metallic spray paint or applying a metallic foil to a base coat. I once used a metallic spray paint on a set of wooden shelves, and it cost only $20 for a 400ml can, which covered all four shelves with a uniform finish. The result was a professional look that matched the cost of a higher-end metallic paint. This option is ideal for beginners or those on a tight budget who still want to achieve a stylish, eye-catching finish.
Another alternative is using metallic foil or tape, which can be applied over a base coat of paint. I used this method on a decorative mirror frame, and the foil gave it a rich, metallic look for under $10. This technique is especially useful for intricate designs or curved surfaces that may be difficult to paint evenly. While it may not have the same depth as traditional metallic paint, it's a cost-effective way to add a touch of glamour to your DIY projects.
For a more permanent and durable solution, consider using metallic powder coatings, which are available at a lower cost than liquid metallic paints. I used a powder coating on a set of wrought iron chairs, and the cost was about $15 per chair, which was significantly less than the $50 I would have spent on metallic paint. The powder coating provided a long-lasting, high-quality finish that resisted chipping and fading. This option is ideal for outdoor furniture or items that will see frequent use.
💰 Budget Build
A no-frills metallic paint project using affordable tools and materials for a cost-effective finish.
⏰ Weekend Version
A quick and easy metallic paint project that can be completed in a weekend with minimal effort.
✨ Upgraded Finish
A high-end metallic paint project with premium materials and professional techniques for a show-stopping finish.
🛋️ Small-Space Adaptation
A metallic paint project tailored for small spaces, using compact tools and space-saving techniques.
🔒 Rental-Safe Option
A metallic paint project that’s safe for rental properties, with easy-to-remove paint and no permanent damage.
| The mistake | Why it happens | The fix |
|---|---|---|
| Using low-quality metallic paint | Low-quality metallic paint may not reflect light properly, leading to a dull or inconsistent finish. | Always choose high-quality metallic paint from a reputable brand. |
| Applying too thick of a coat | Applying too thick of a coat can lead to a clumpy, uneven finish that’s hard to fix. | Apply multiple thin coats of paint instead of one thick coat. |
| Not sanding or priming the surface | Not sanding or priming the surface can result in a patchy, uneven finish that looks unprofessional. | Always sand and prime the surface before applying metallic paint. |
| Using harsh chemicals to clean the paint | Harsh chemicals can strip away the paint or damage the finish, leading to an uneven look. | Clean the paint with a soft cloth and a mild soap solution instead. |
What Is Metallic Paint
Common Questions
Can I use metallic paint on a wooden surface?
Do I need special tools for metallic paint?
How long does metallic paint last?
Is metallic paint suitable for beginners?
References
- (4) a theory of - ERIC (files.eric.ed.gov)
- Paint Stripping and Miscellaneous Surface Coating Operations ... (env.nm.gov)
- Lead in Paint | CPSC.gov (cpsc.gov)
Cite this guide
DIY Furniture with Metal Components (2026). What Is Metallic Paint. https://weldworknow.com/what-is-metallic-paint/
Feel free to cite or share this guide.